Now that you’ve started a company with 1st Formations, set up a corporate account with Wise, and created an online store on Shopify, the next step is to sign up for a Facebook account and create a new Business Manager.
The new Business Manager needs to be verified on behalf of your UK-registered company, for example, through 1st Formations.
Here’s exactly what I did in my research:
- Started a company through 1st Formations. How can you do this?
- Set up a corporate bank account with Wise. How is it done?
- Created a test online store on Shopify. How do you do it?
- I already had a Facebook account, so I didn’t need to register a new one.
- Created a new Business Manager.
- Verified the Business Manager on behalf of my UK-registered company through 1st Formations.
Where to start: Purchase a domain for your company
This stage involves creating a business card website for your company. In my case, it’s a real company, so as an example, I’m sharing the site I created: https://vecomlab.co.uk.
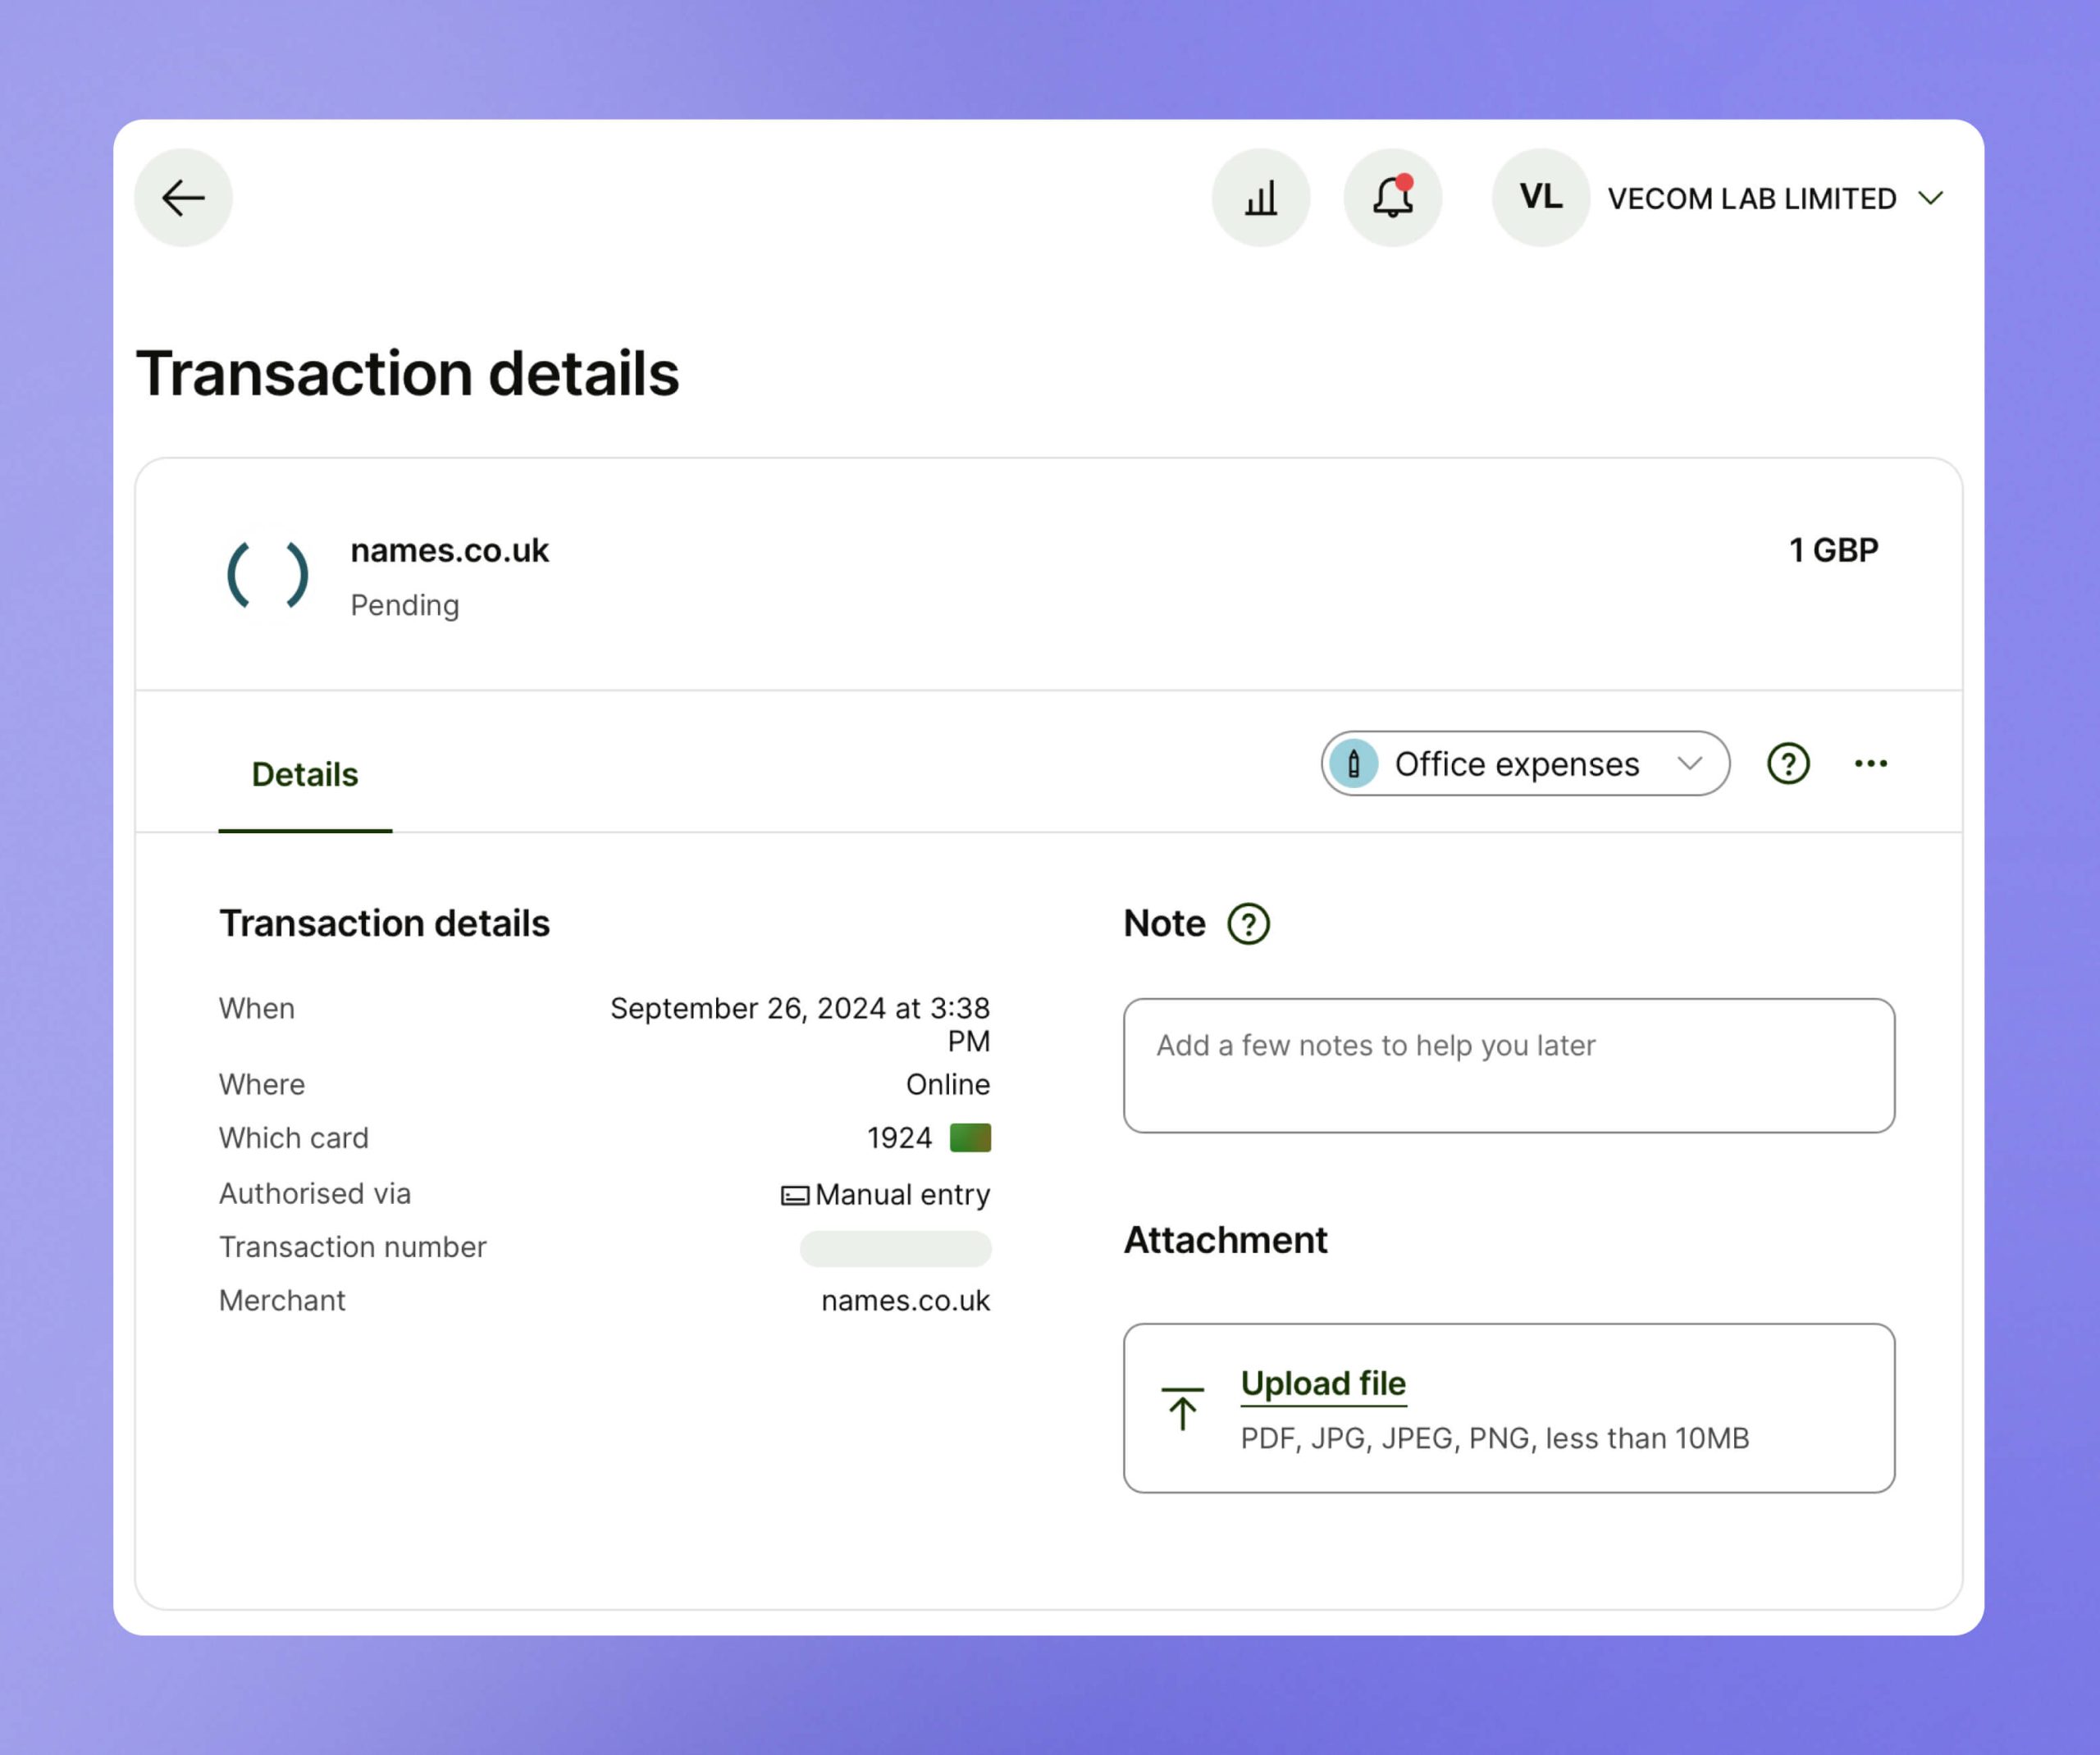
I didn’t have to buy a domain—when you start a company through 1st Formations, you can get one for free for the first year at https://www.names.co.uk.
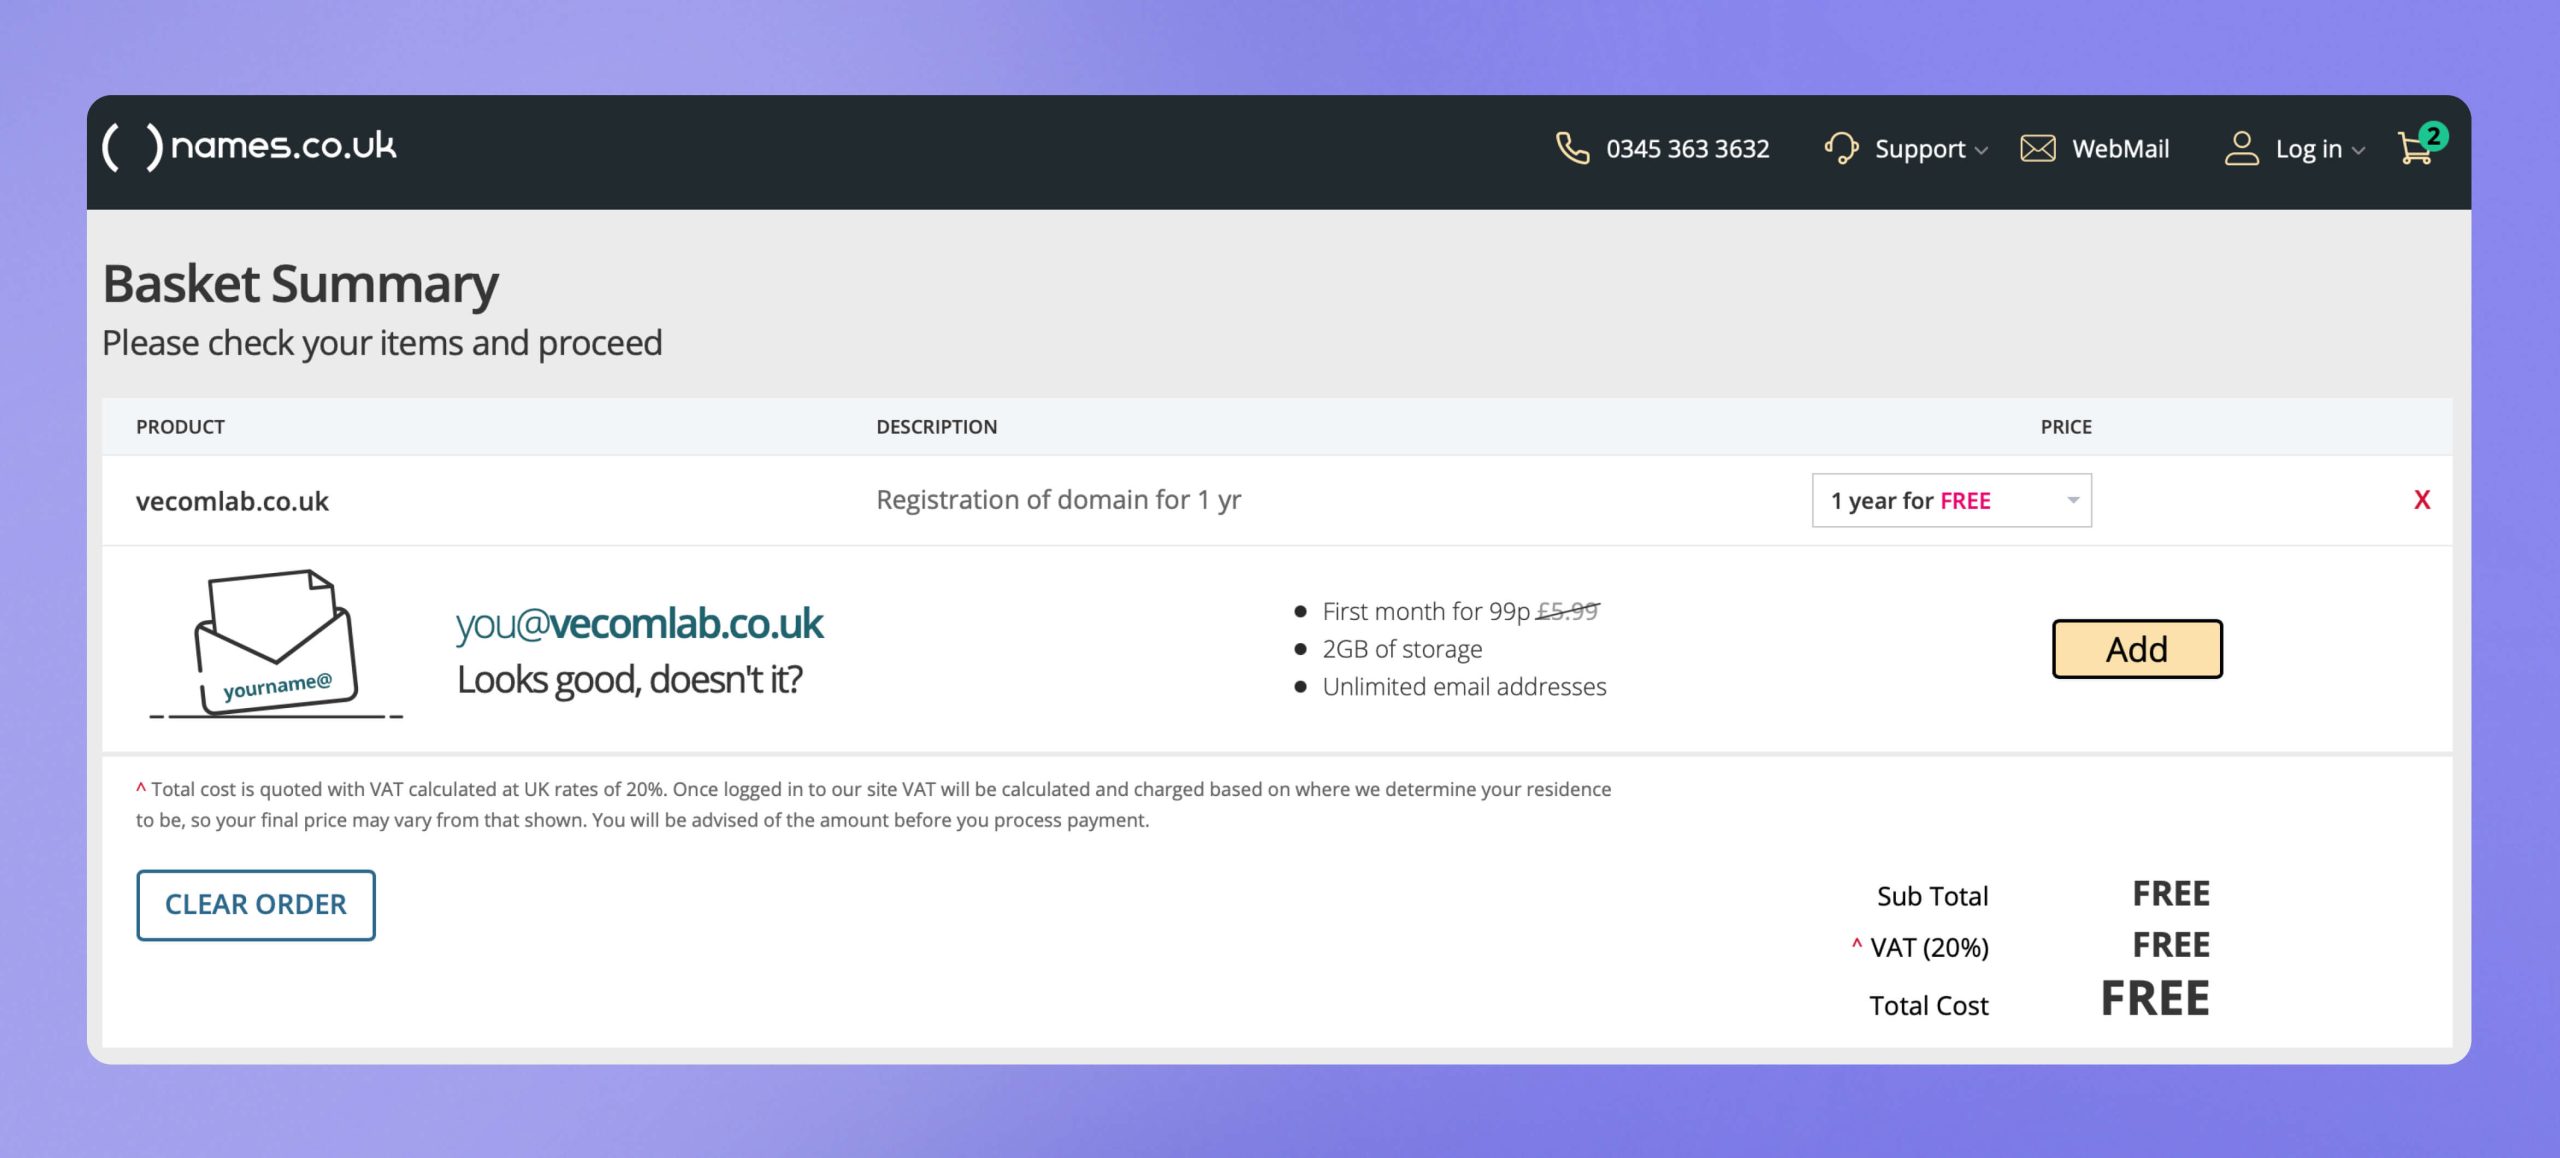
To finalize the domain registration, you will need to link a bank card. In this case it is enough to link the card of the new bank account opened for the company in Wise.
Create a new Business Manager
At this point, you should already have all the necessary information prepared. Below are some additional details on the setup.
A new Business Manager can be created at the following link: https://business.facebook.com/.
In the Your business email field, I recommend entering only your business email. Create a separate account for each administrator.
In the Business Portfolio Info tab, fill in the company information by clicking the Edit button. Use data from your company’s registration documents.

- Legal business name – Copy the company name from the registration documents.
- Address – Copy the company address from the registration documents.
- Business phone – Please refer to the article «How to Open a Business Account with Wise?» where I suggested a solution that allowed me to create this guide and continue the research for you.
- Website – A simple website for your company with clear information about what you do and legal contacts, exactly as stated in the registration documents.
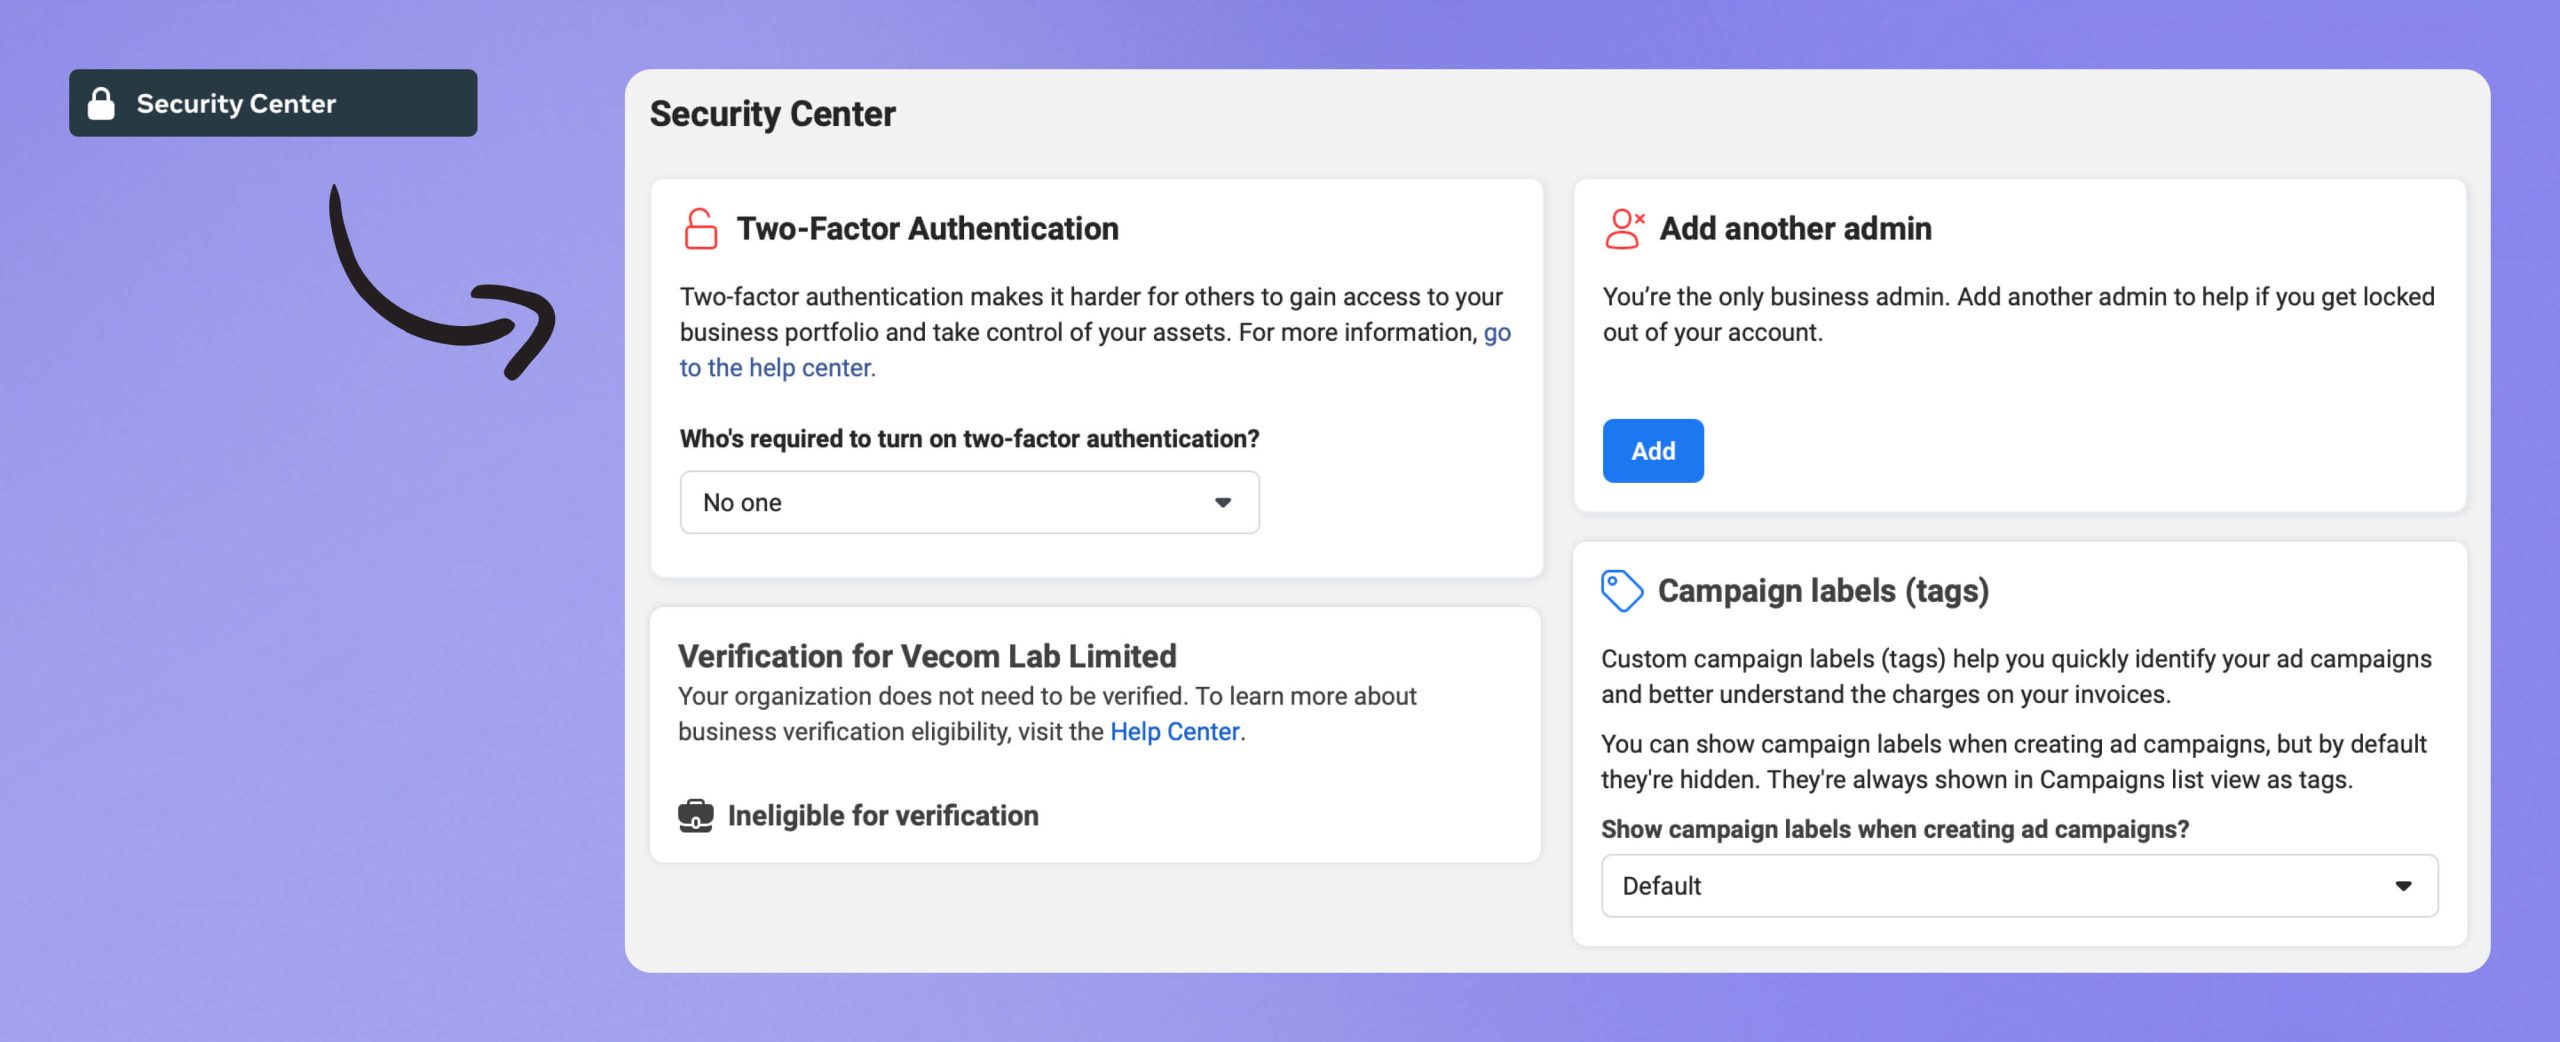
Next, make sure to enable two-factor authentication for all administrators of your Business Manager. You should also enable it in your personal Facebook account settings.

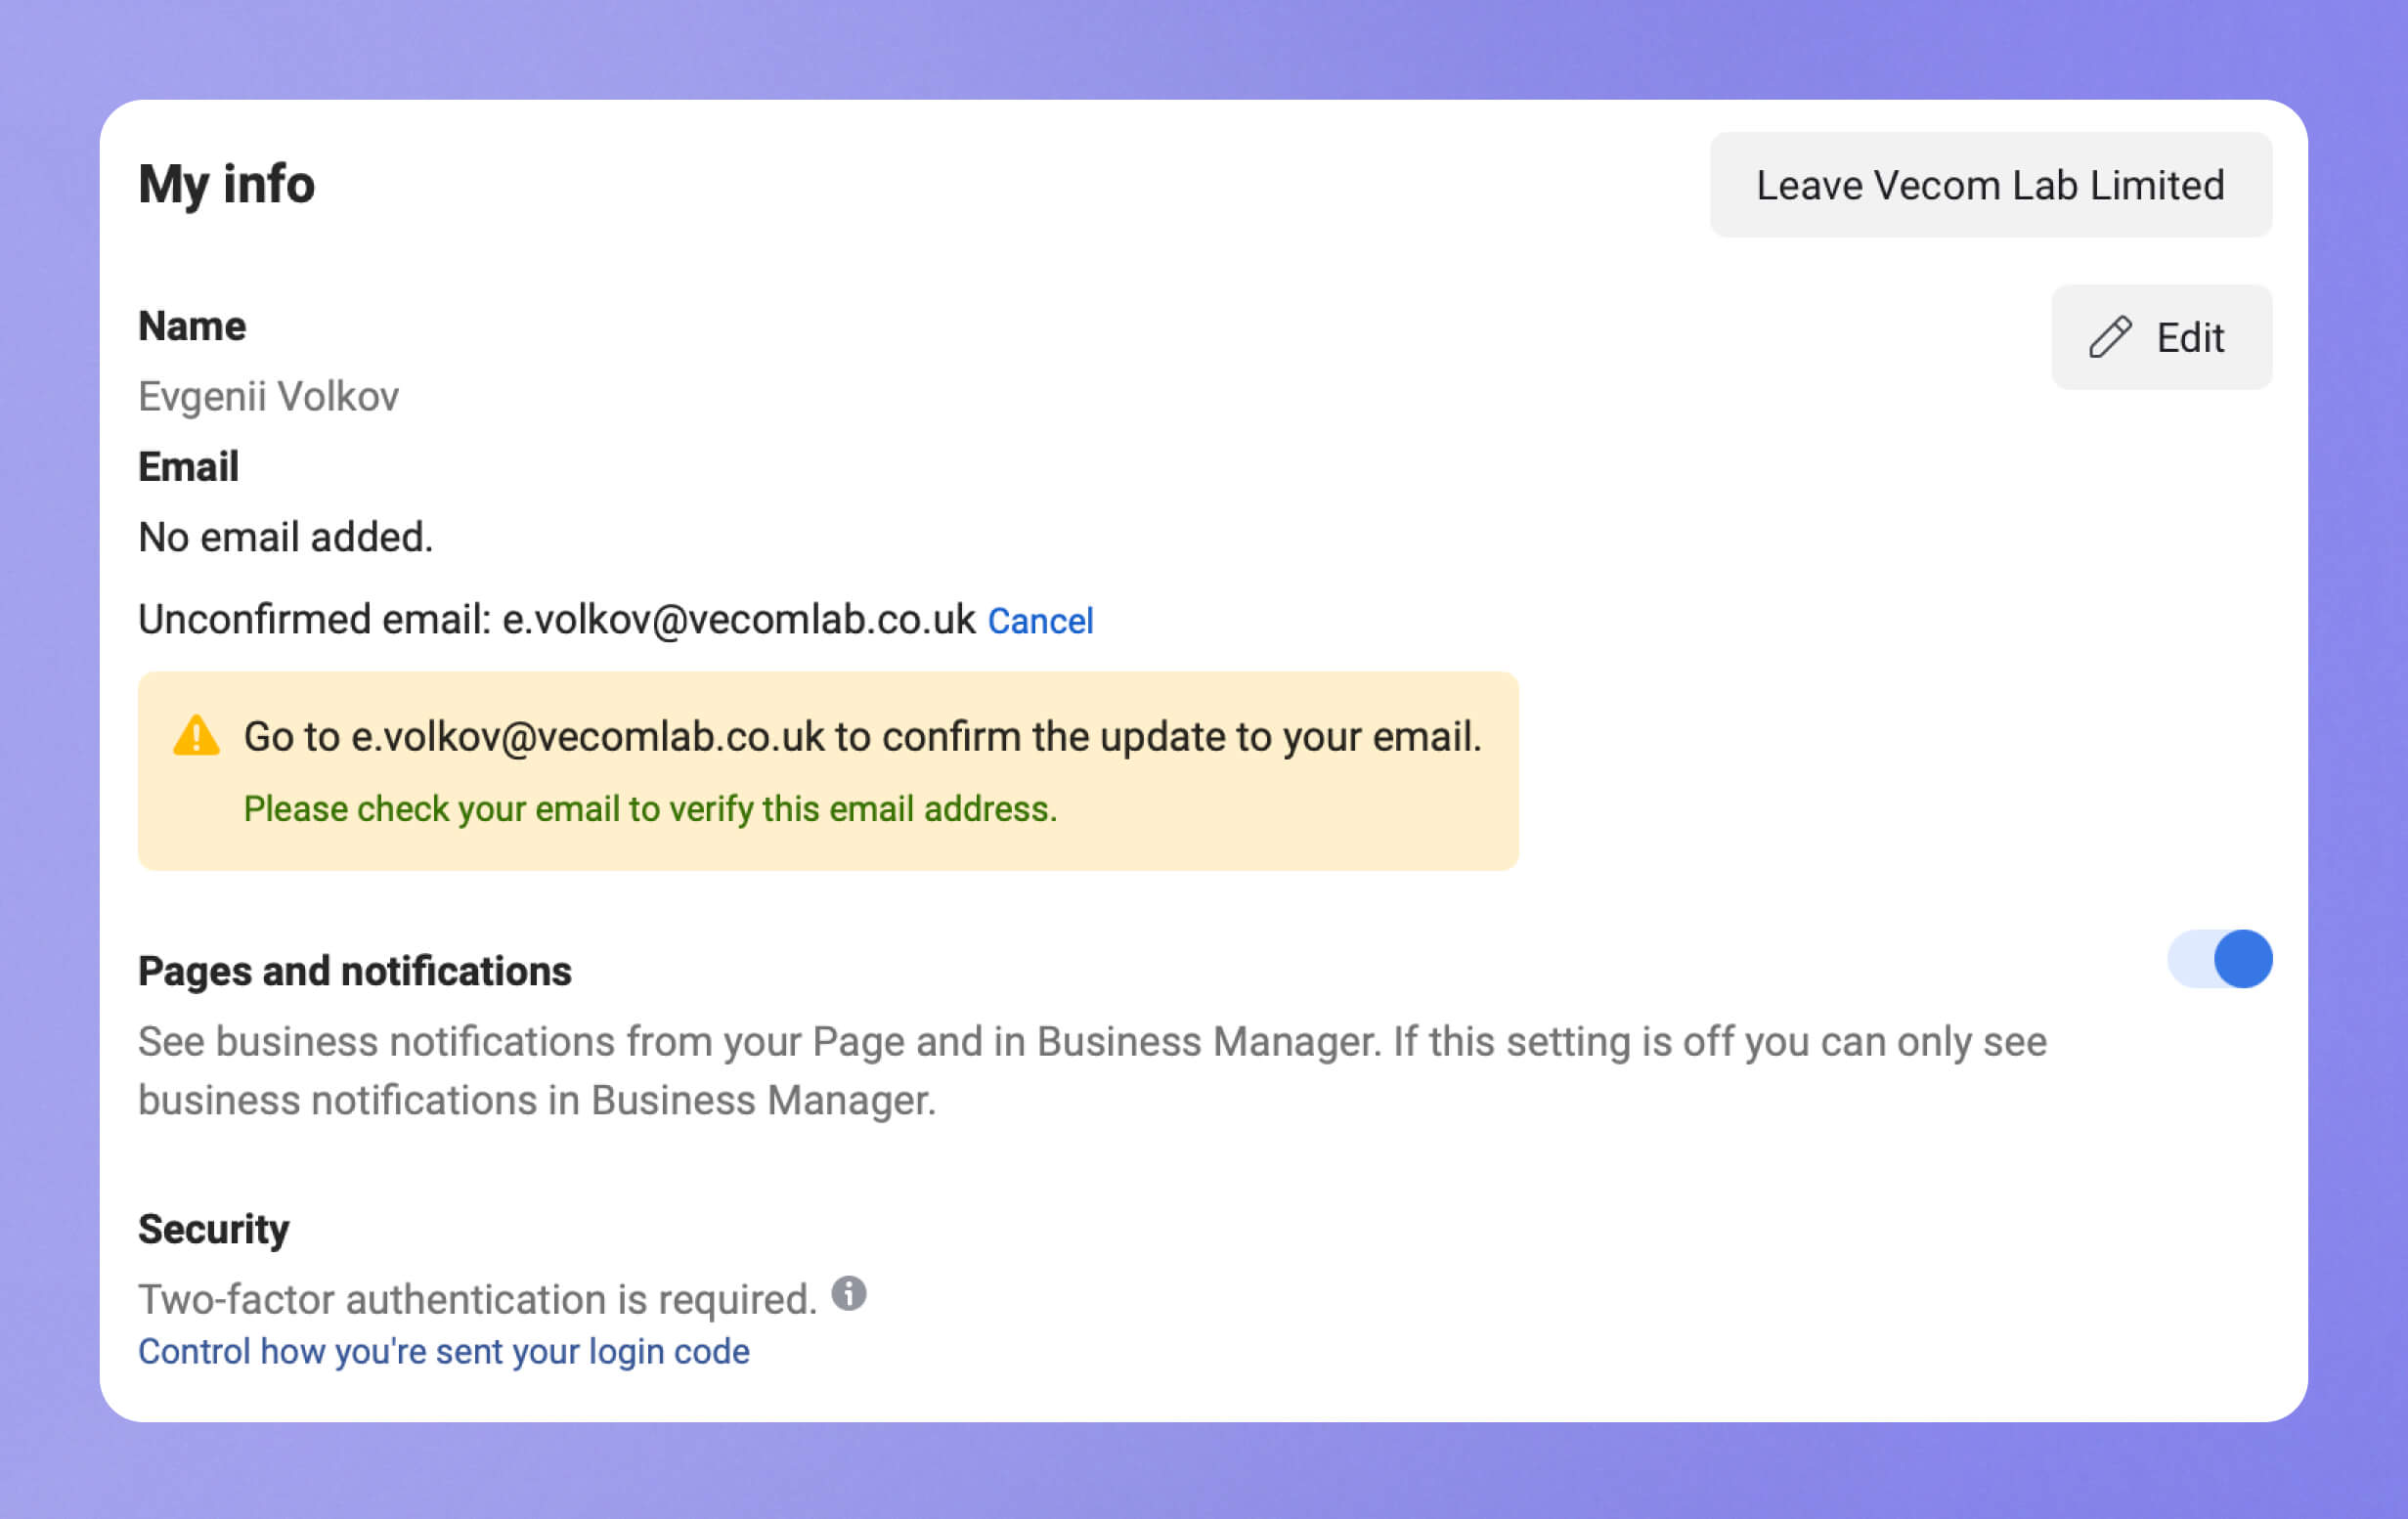
Confirm email: Each administrator you add to the Business Manager must have a corporate email (do not link an email that is already associated with your personal Facebook account).
Add a second administrator and grant them full access. This is the second task in the Security Center, after enabling the two-factor authentication requirement for all administrators.
Once you have successfully created a new Business Manager, confirmed the email, filled in the company information, enabled two-factor authentication for all administrators, and added a second administrator, proceed to verify the Business Manager on behalf of the company by opening the Security Center.
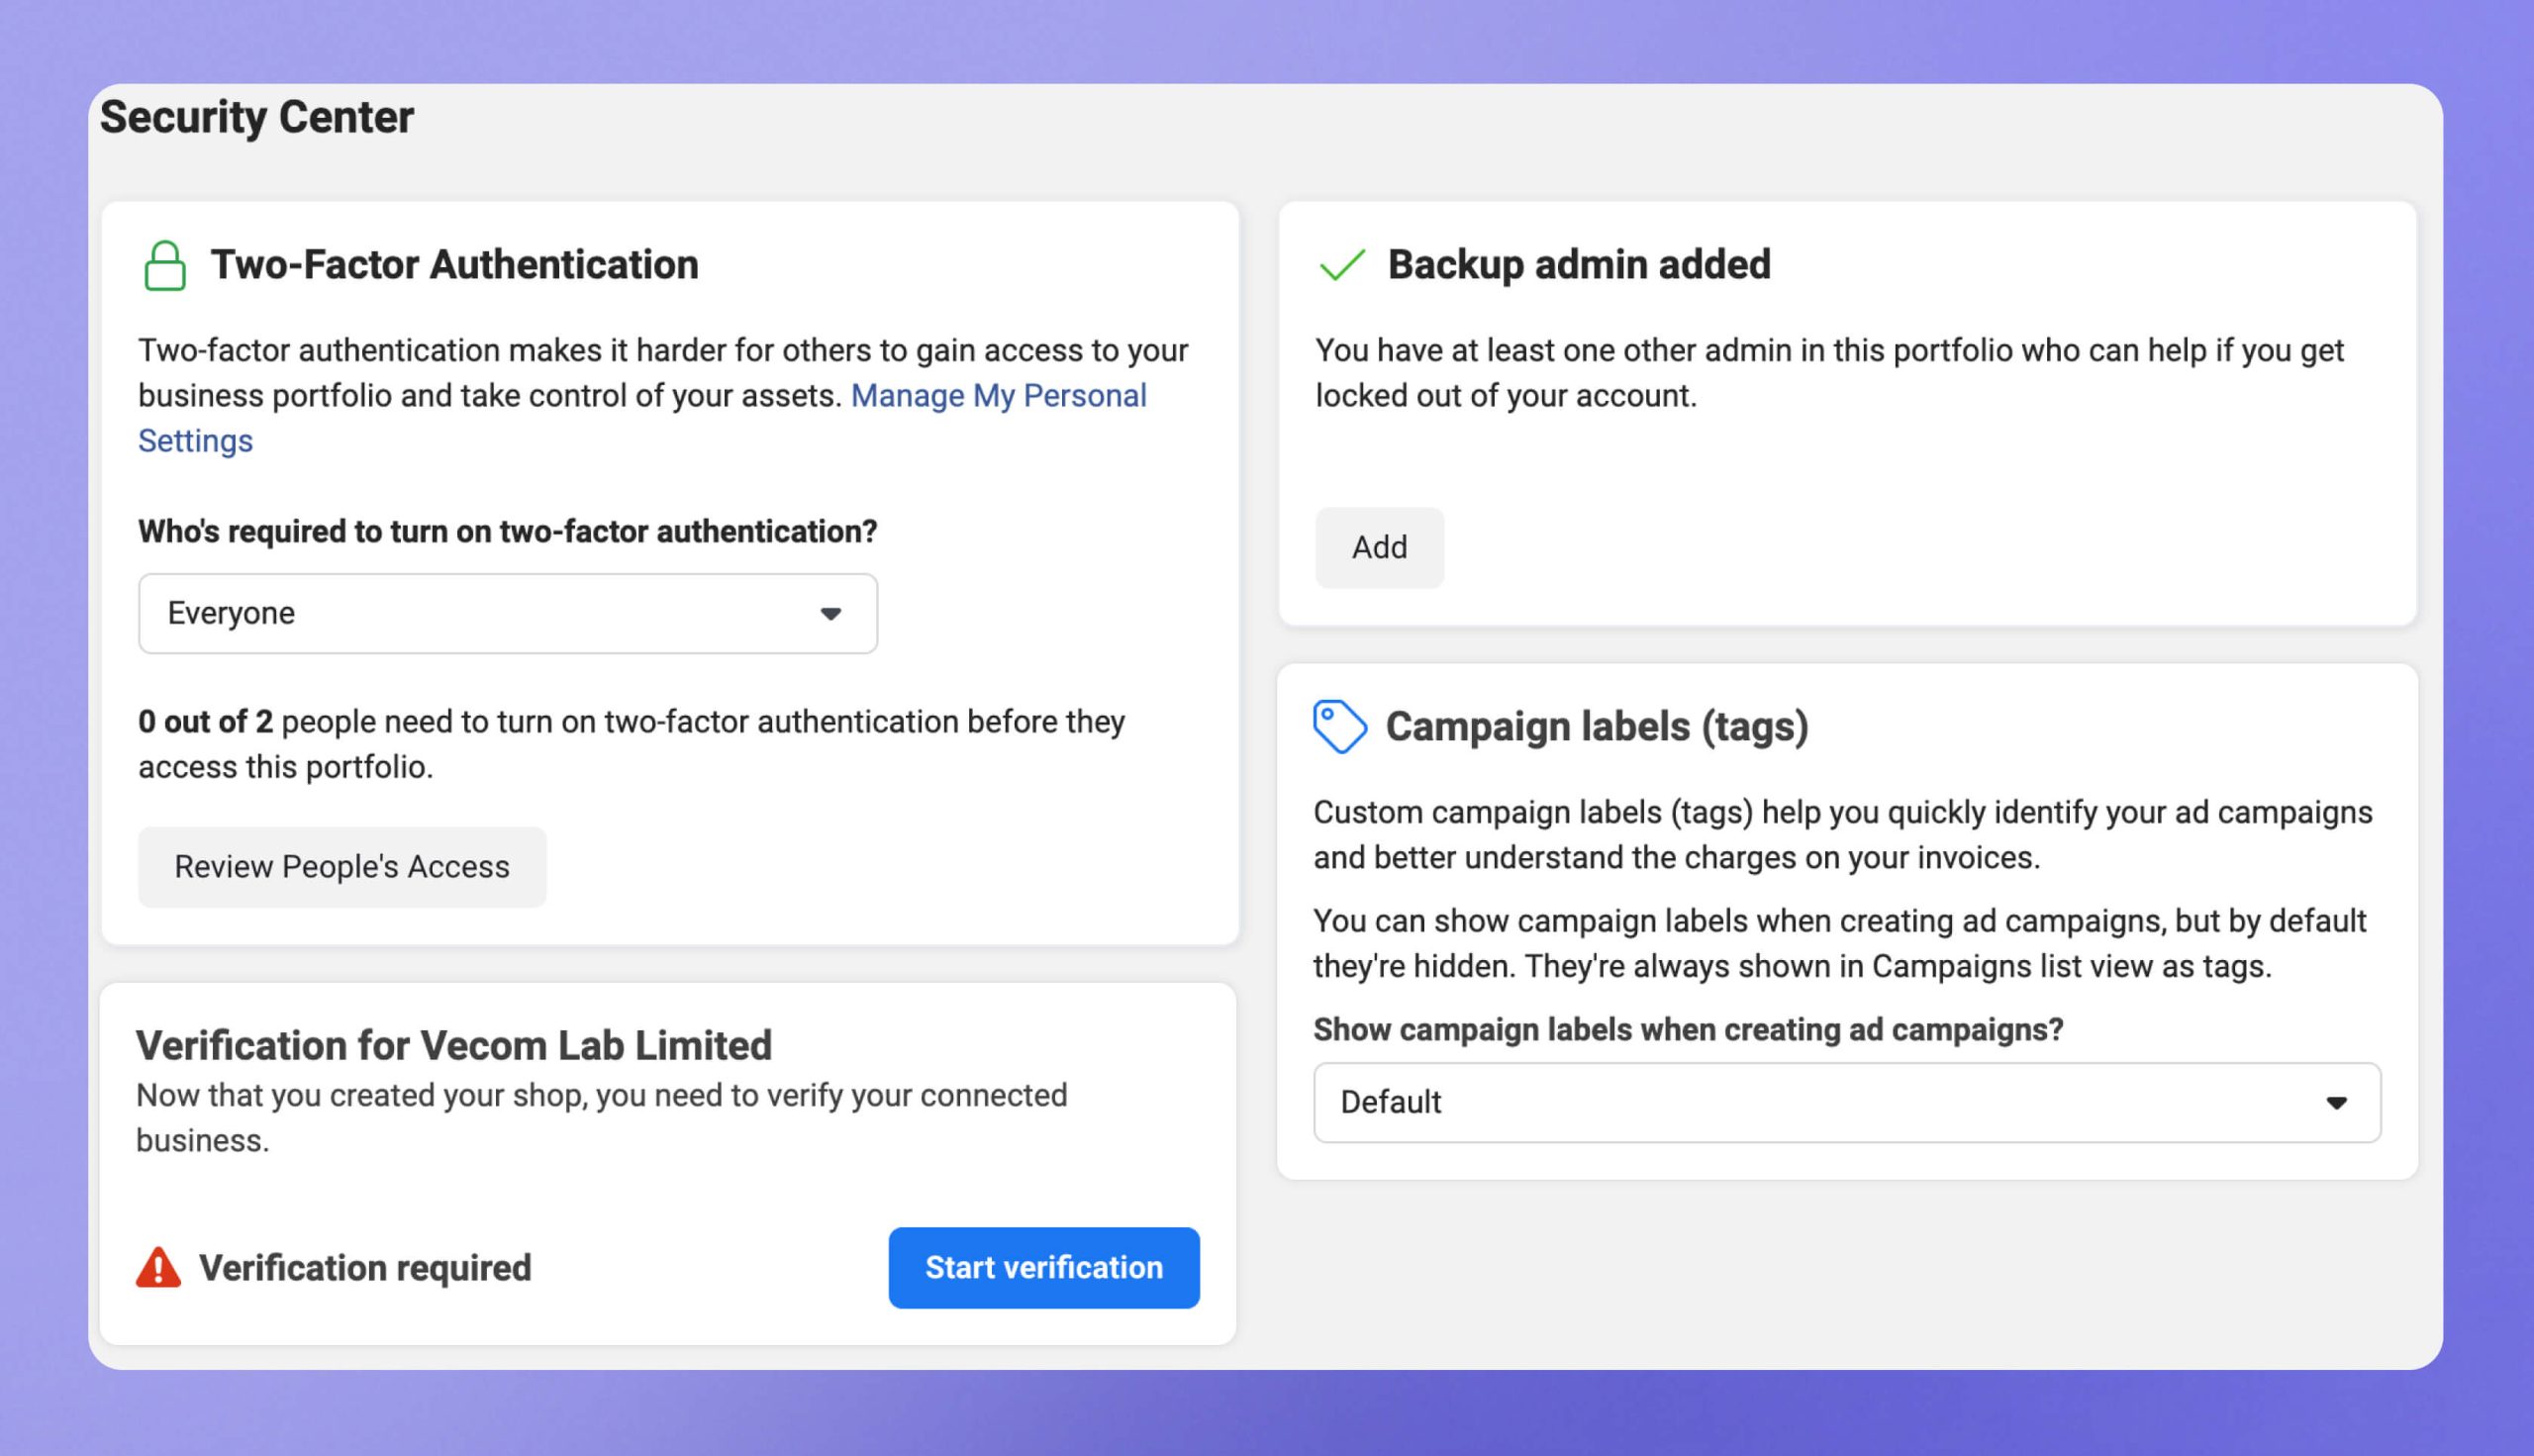
If the Start Verification button is not available, I have a solution. Create a store on the Shopify platform and follow the settings based on my recommendations from the videos available for free on YouTube playlists in Russian (turn on subtitles and translate them into your language).
The solution is to properly link your Shopify store to Facebook Business Manager. This time, I limited myself to minimal customization: I didn’t finalize the store design or copywriting. This is in case you think you need to fully complete the store setup for this solution to work.
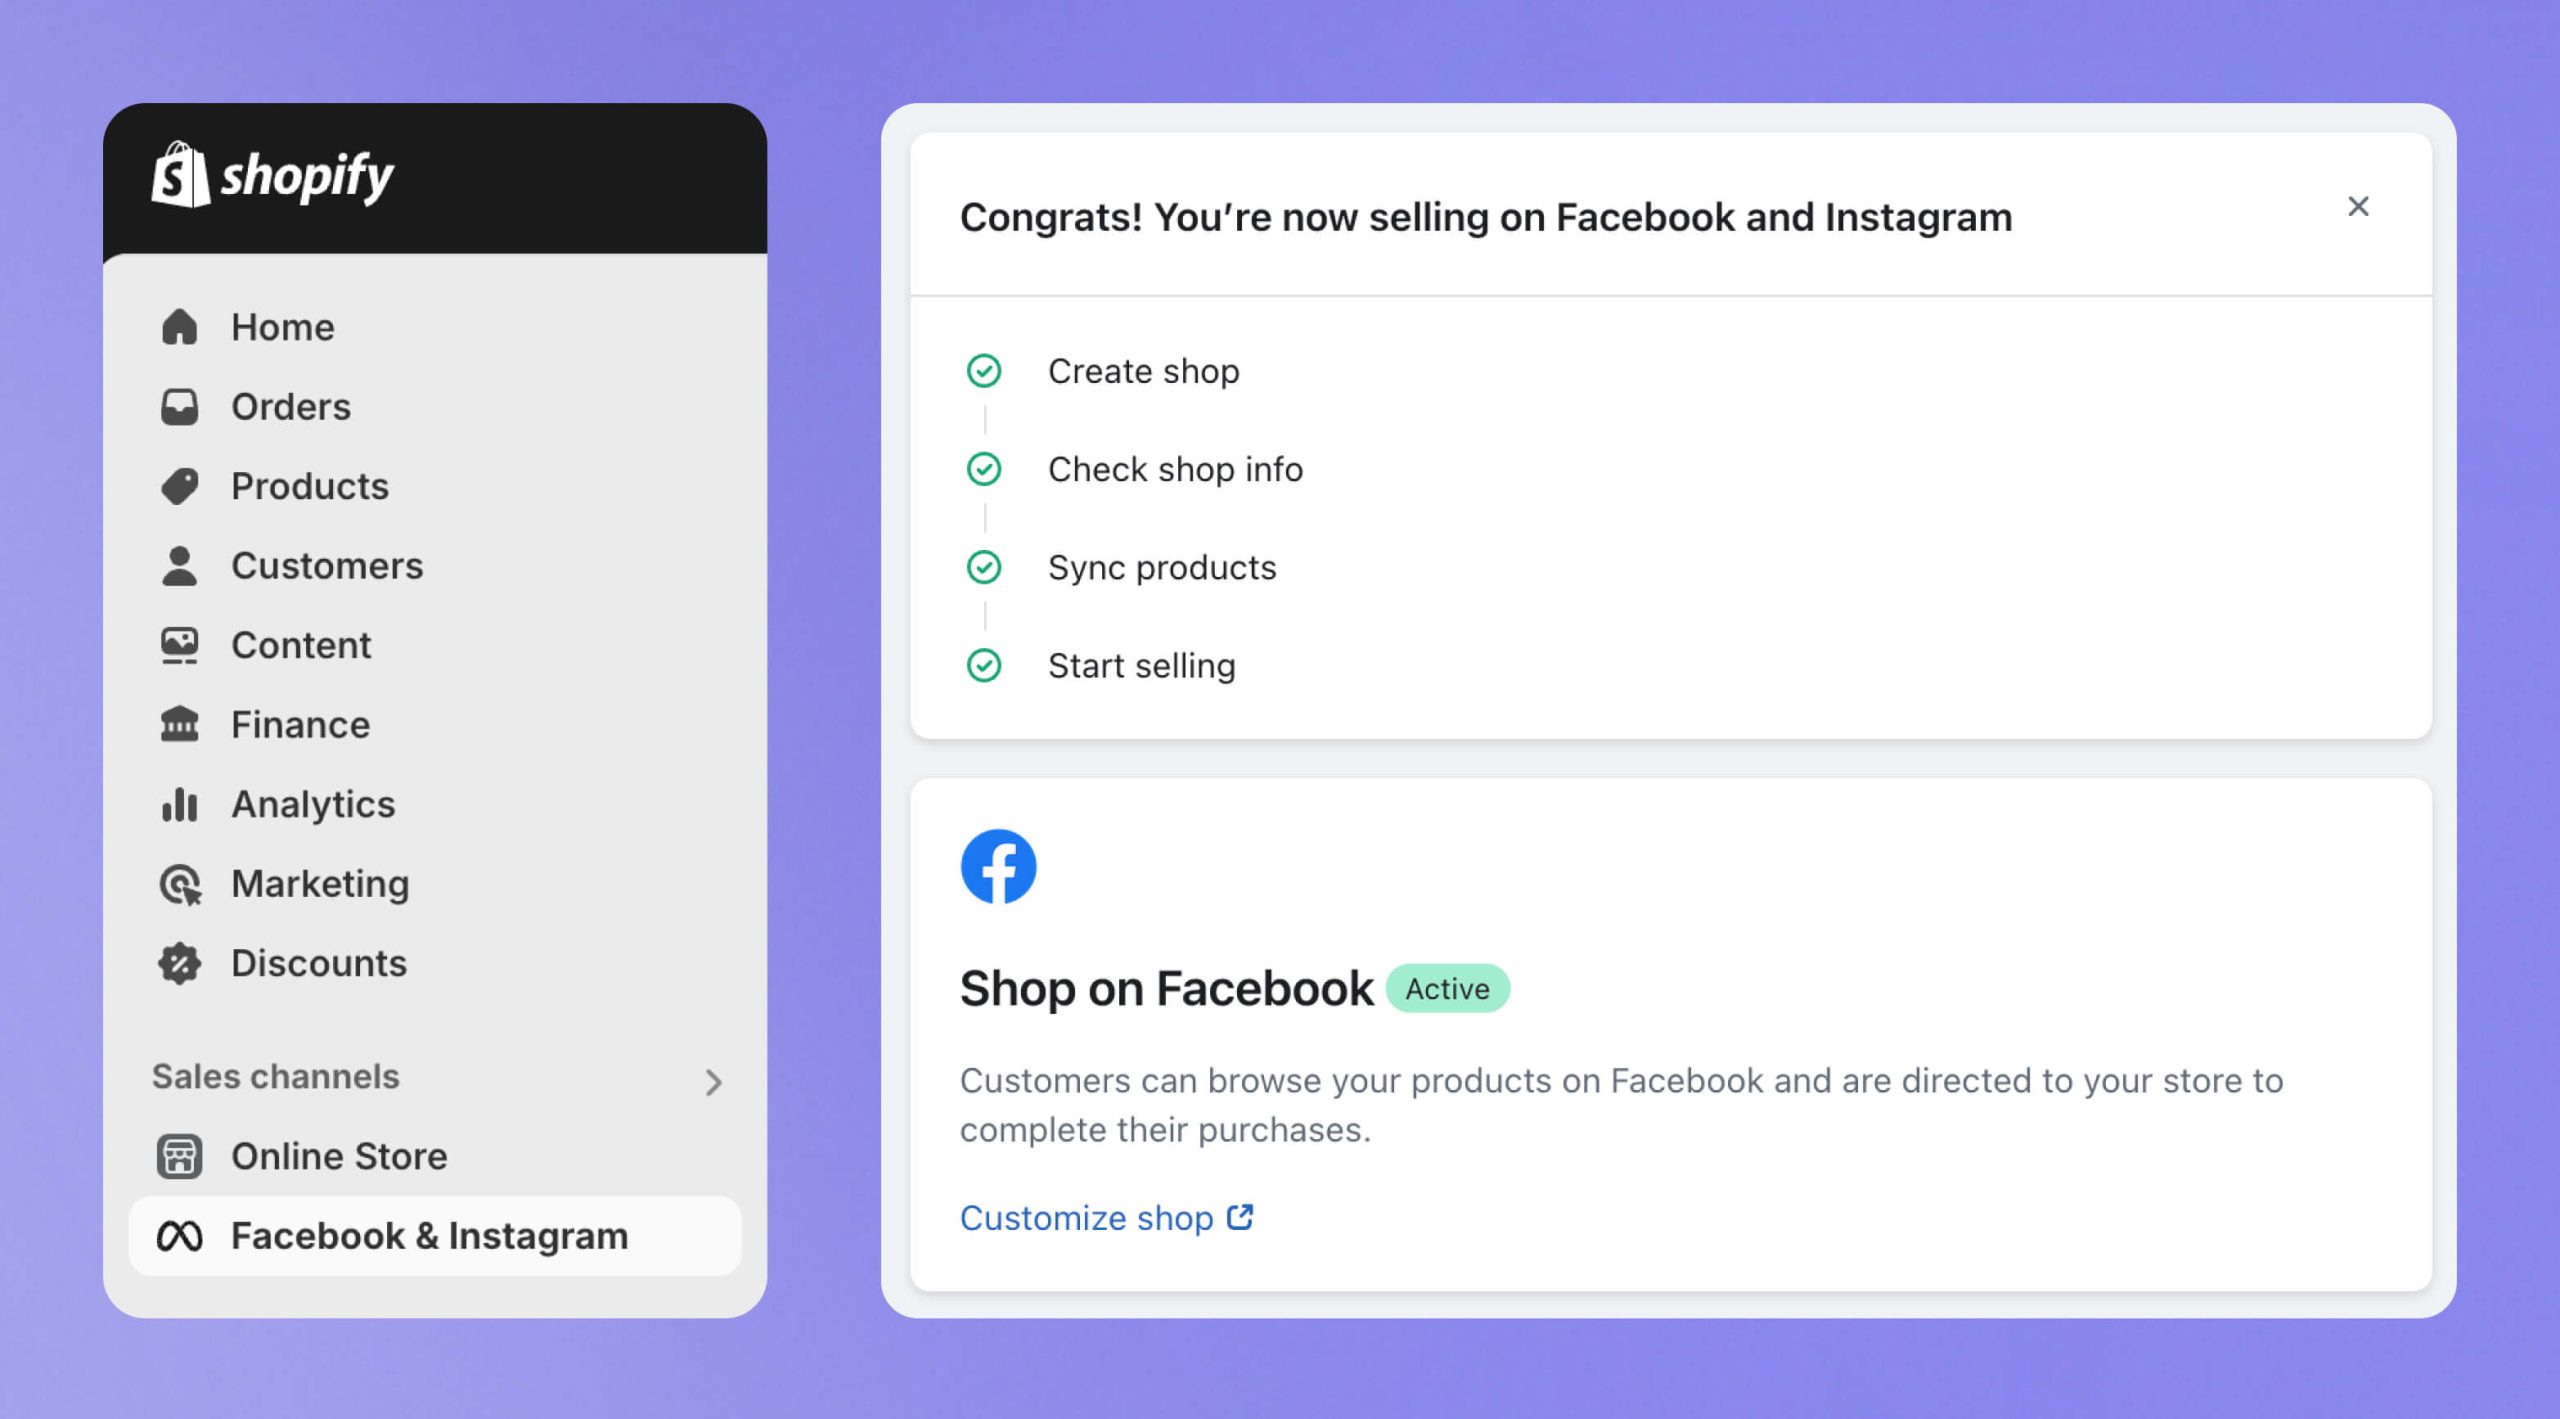
1. Create a Facebook page for the store.
2. Add the page to Business Manager.
3. Create an advertising account.
4. Create a Pixel.
5. Link the Pixel to the advertising account.
6. Add a payment method.
7. Add the Facebook & Instagram app to Shopify.
8. Complete the necessary settings on the Shopify side.
9. Finalize the settings in Facebook.
Verify the Business Manager on Facebook
Click the Start Verification button and follow the on-screen instructions.

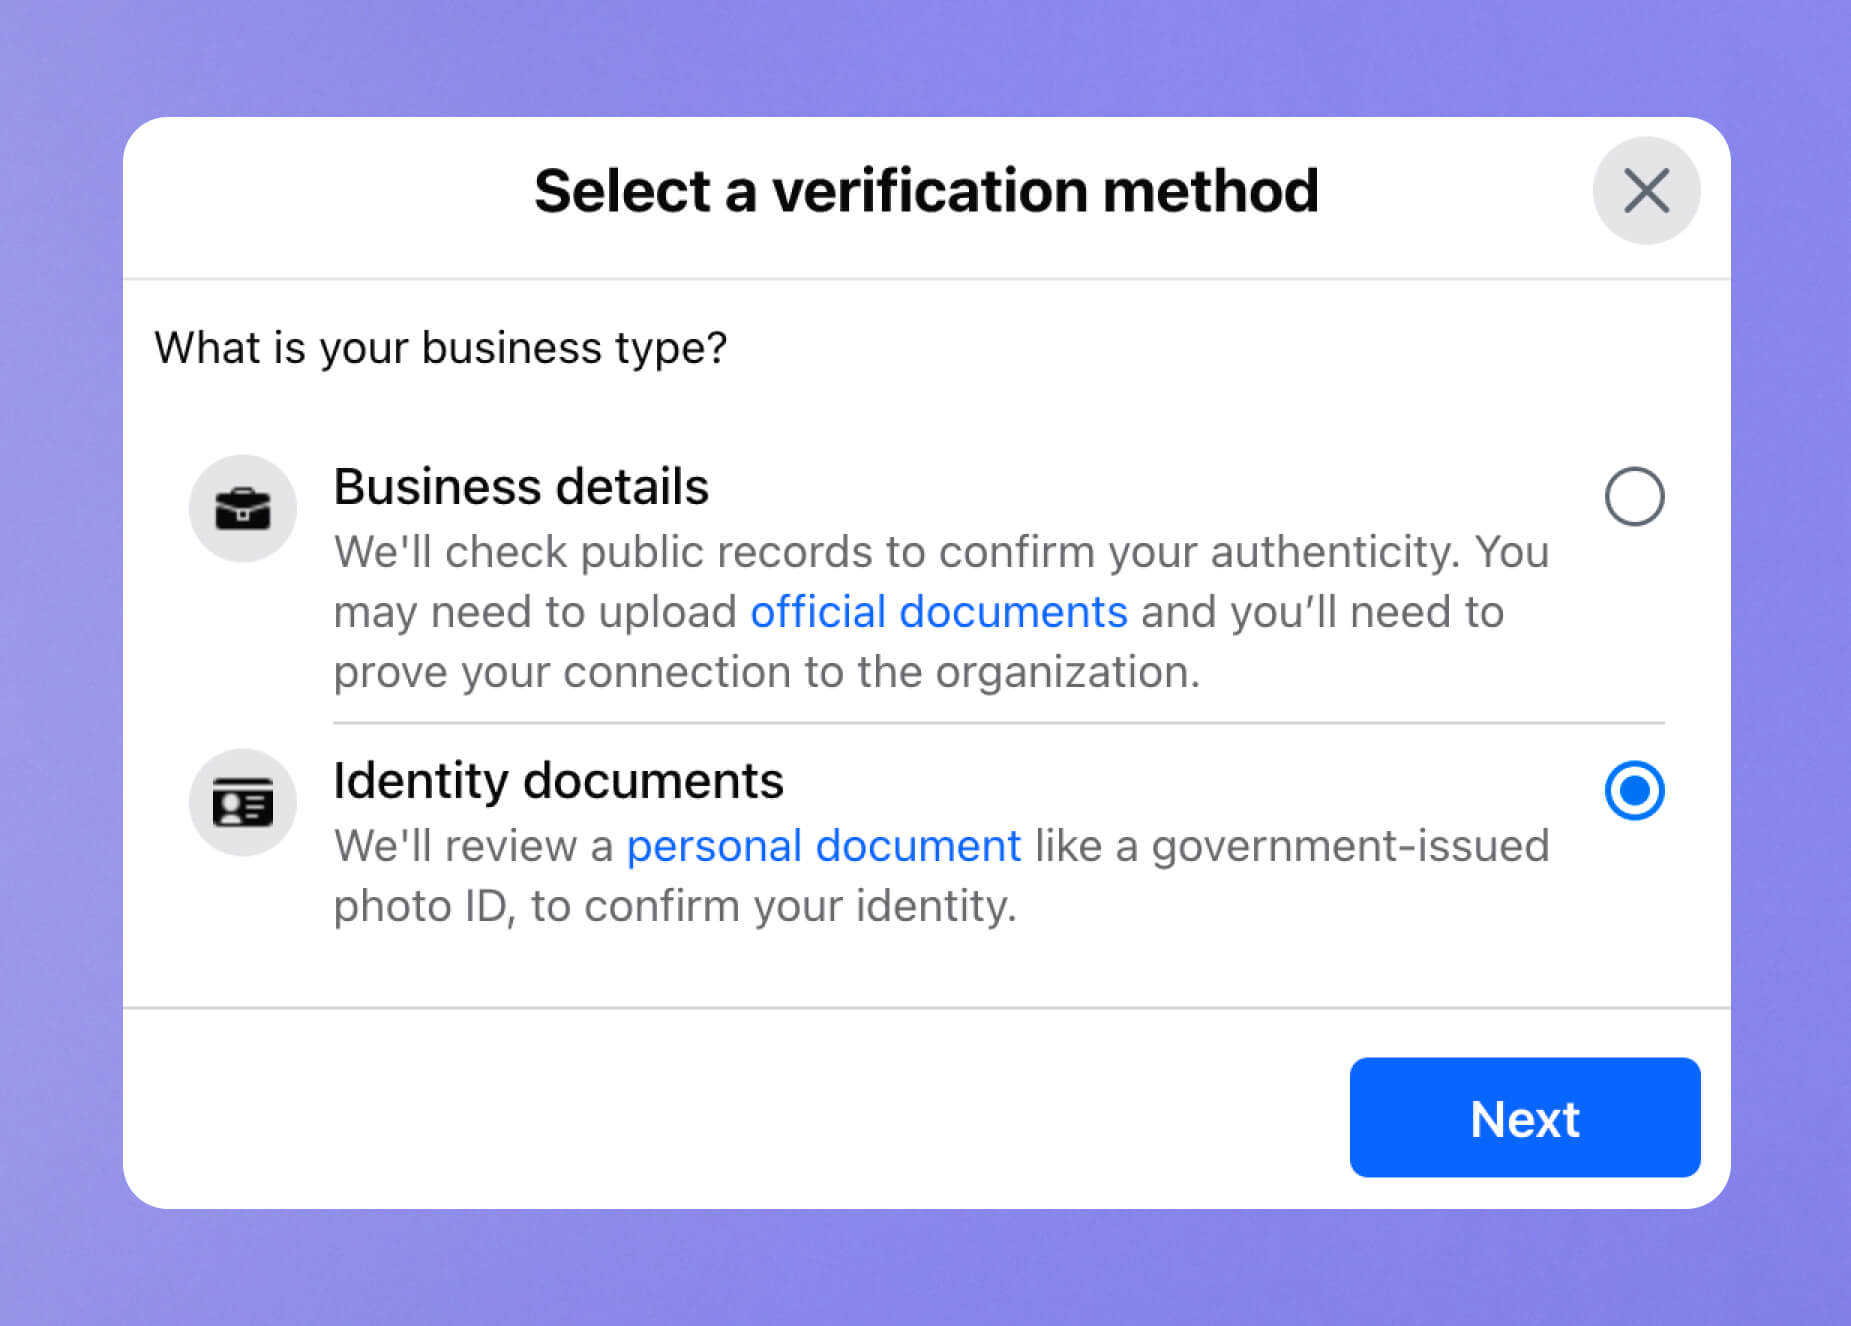
You will have the option to choose between two verification methods:
- Business details;
- Identity documents.
If you followed the tips from my article «How to Open a Business Account with Wise?» and have obtained a driver’s license, select Identity documents.
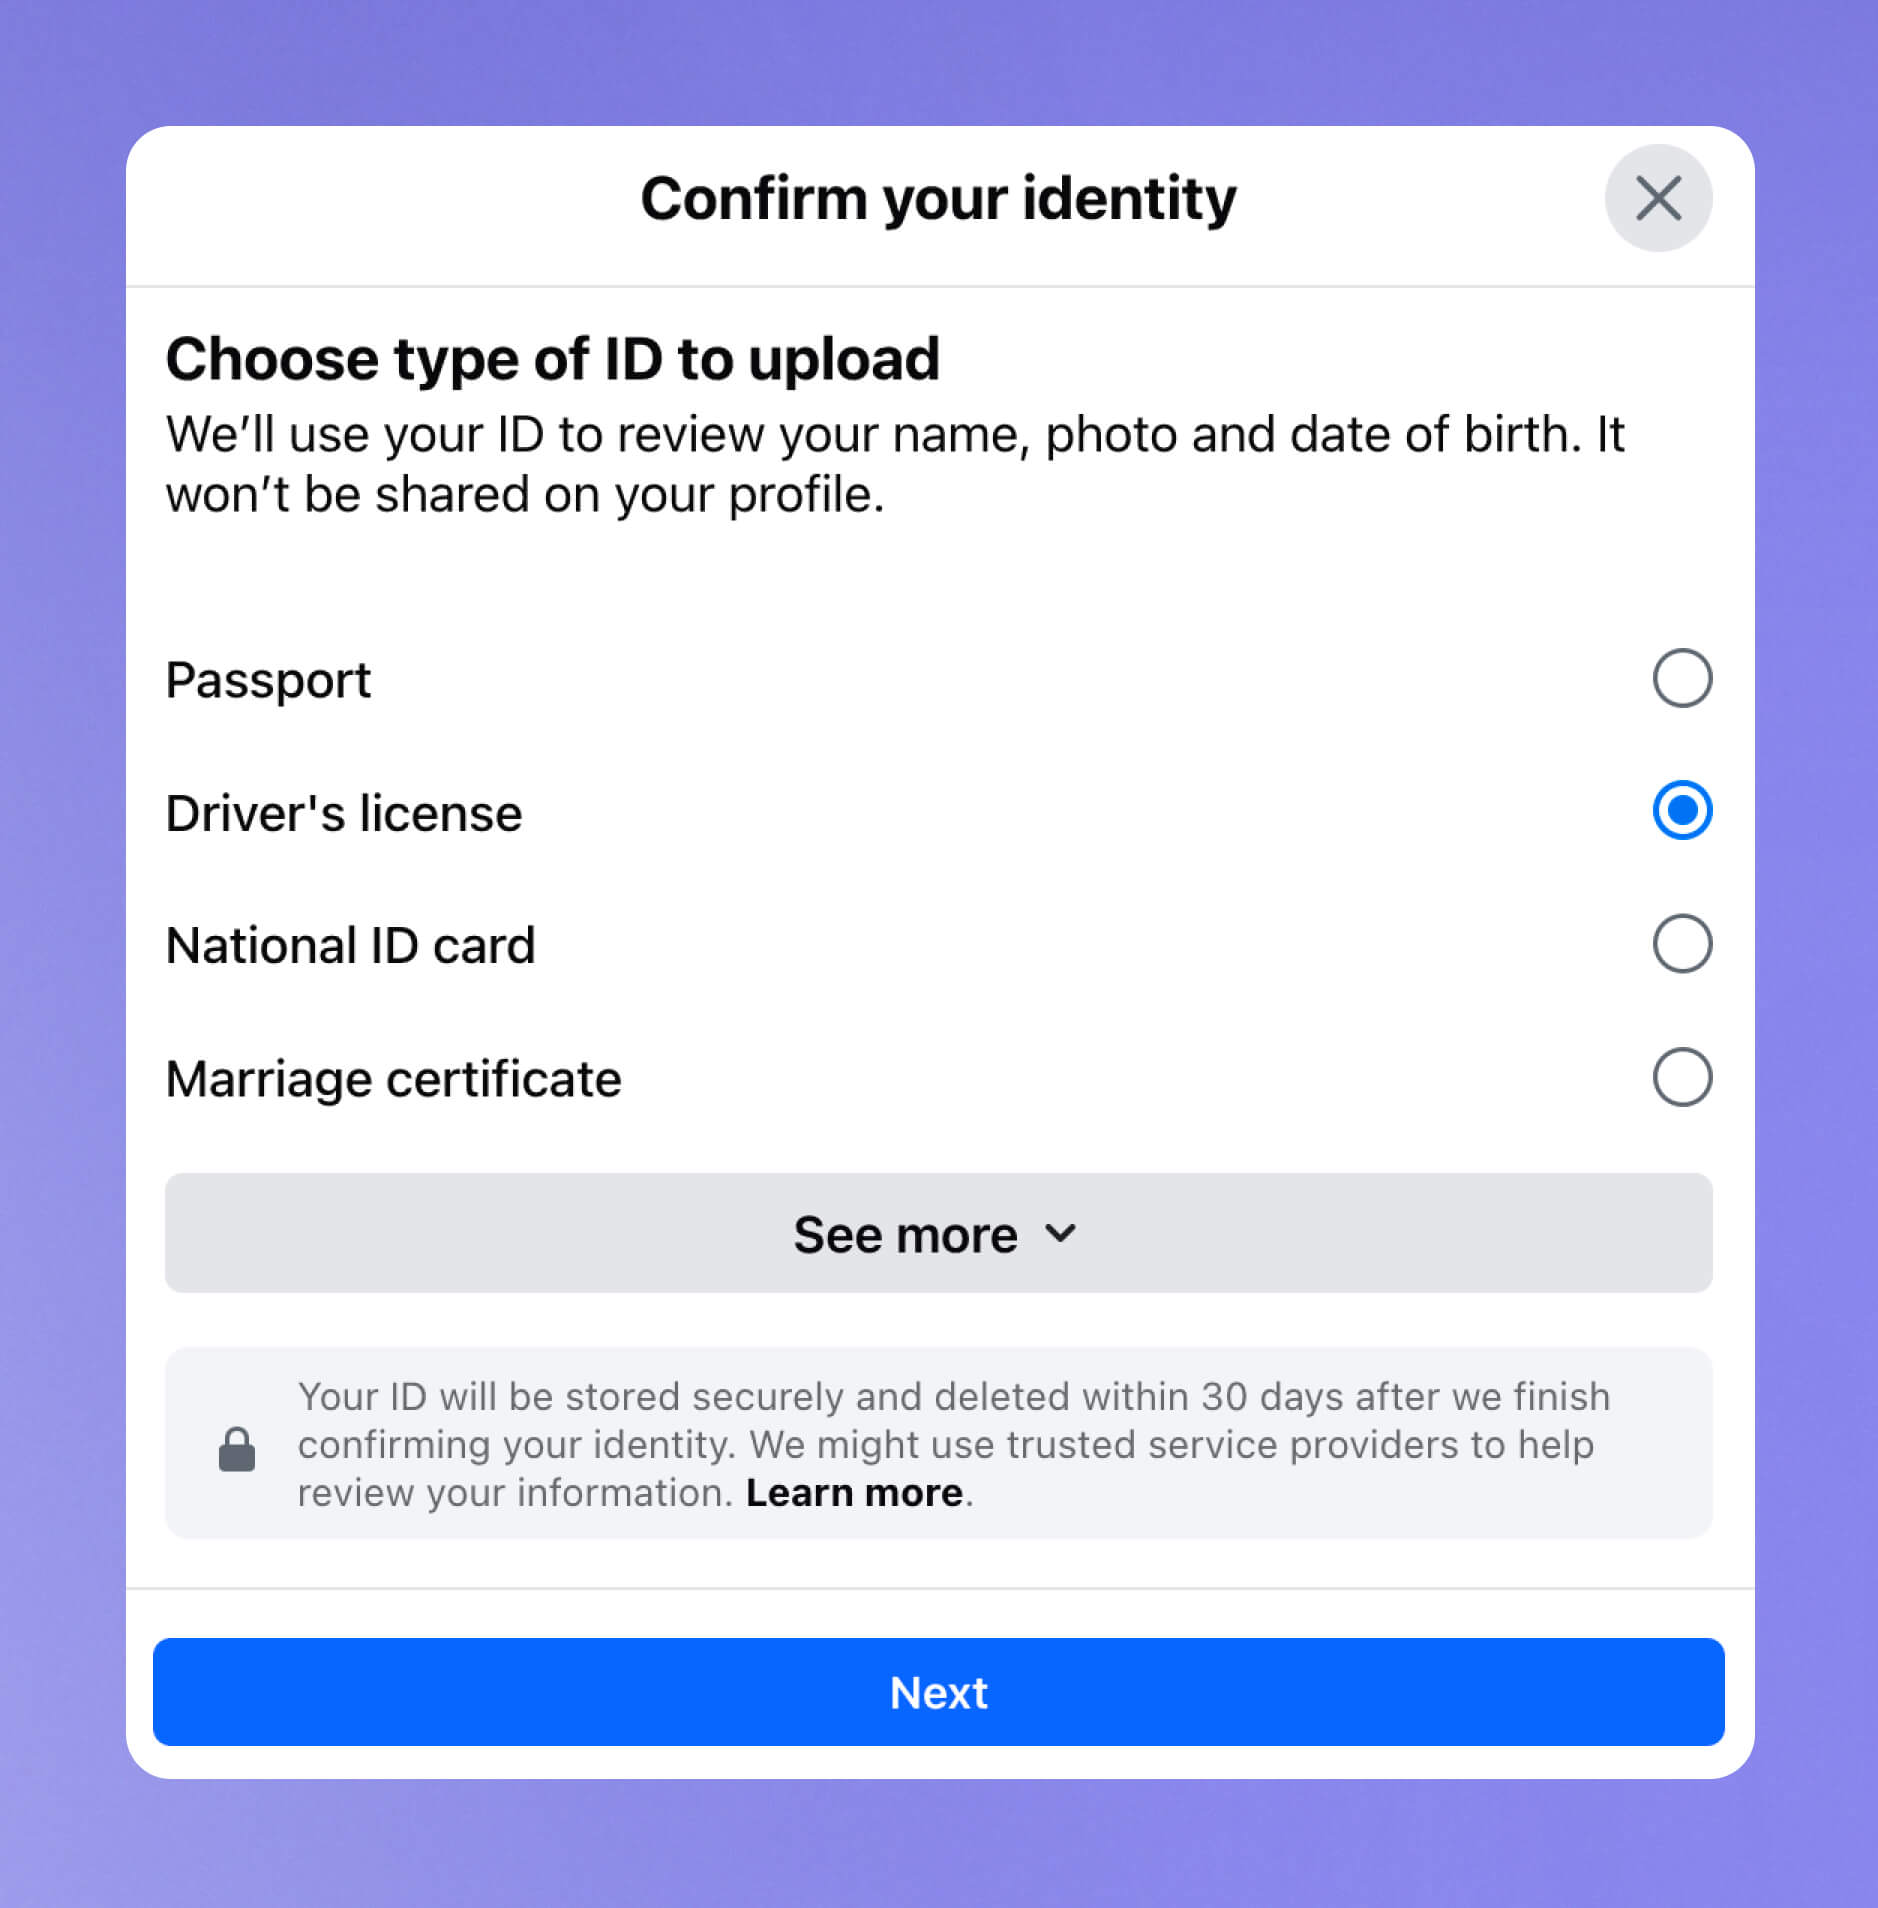
Next, select Driver’s license.
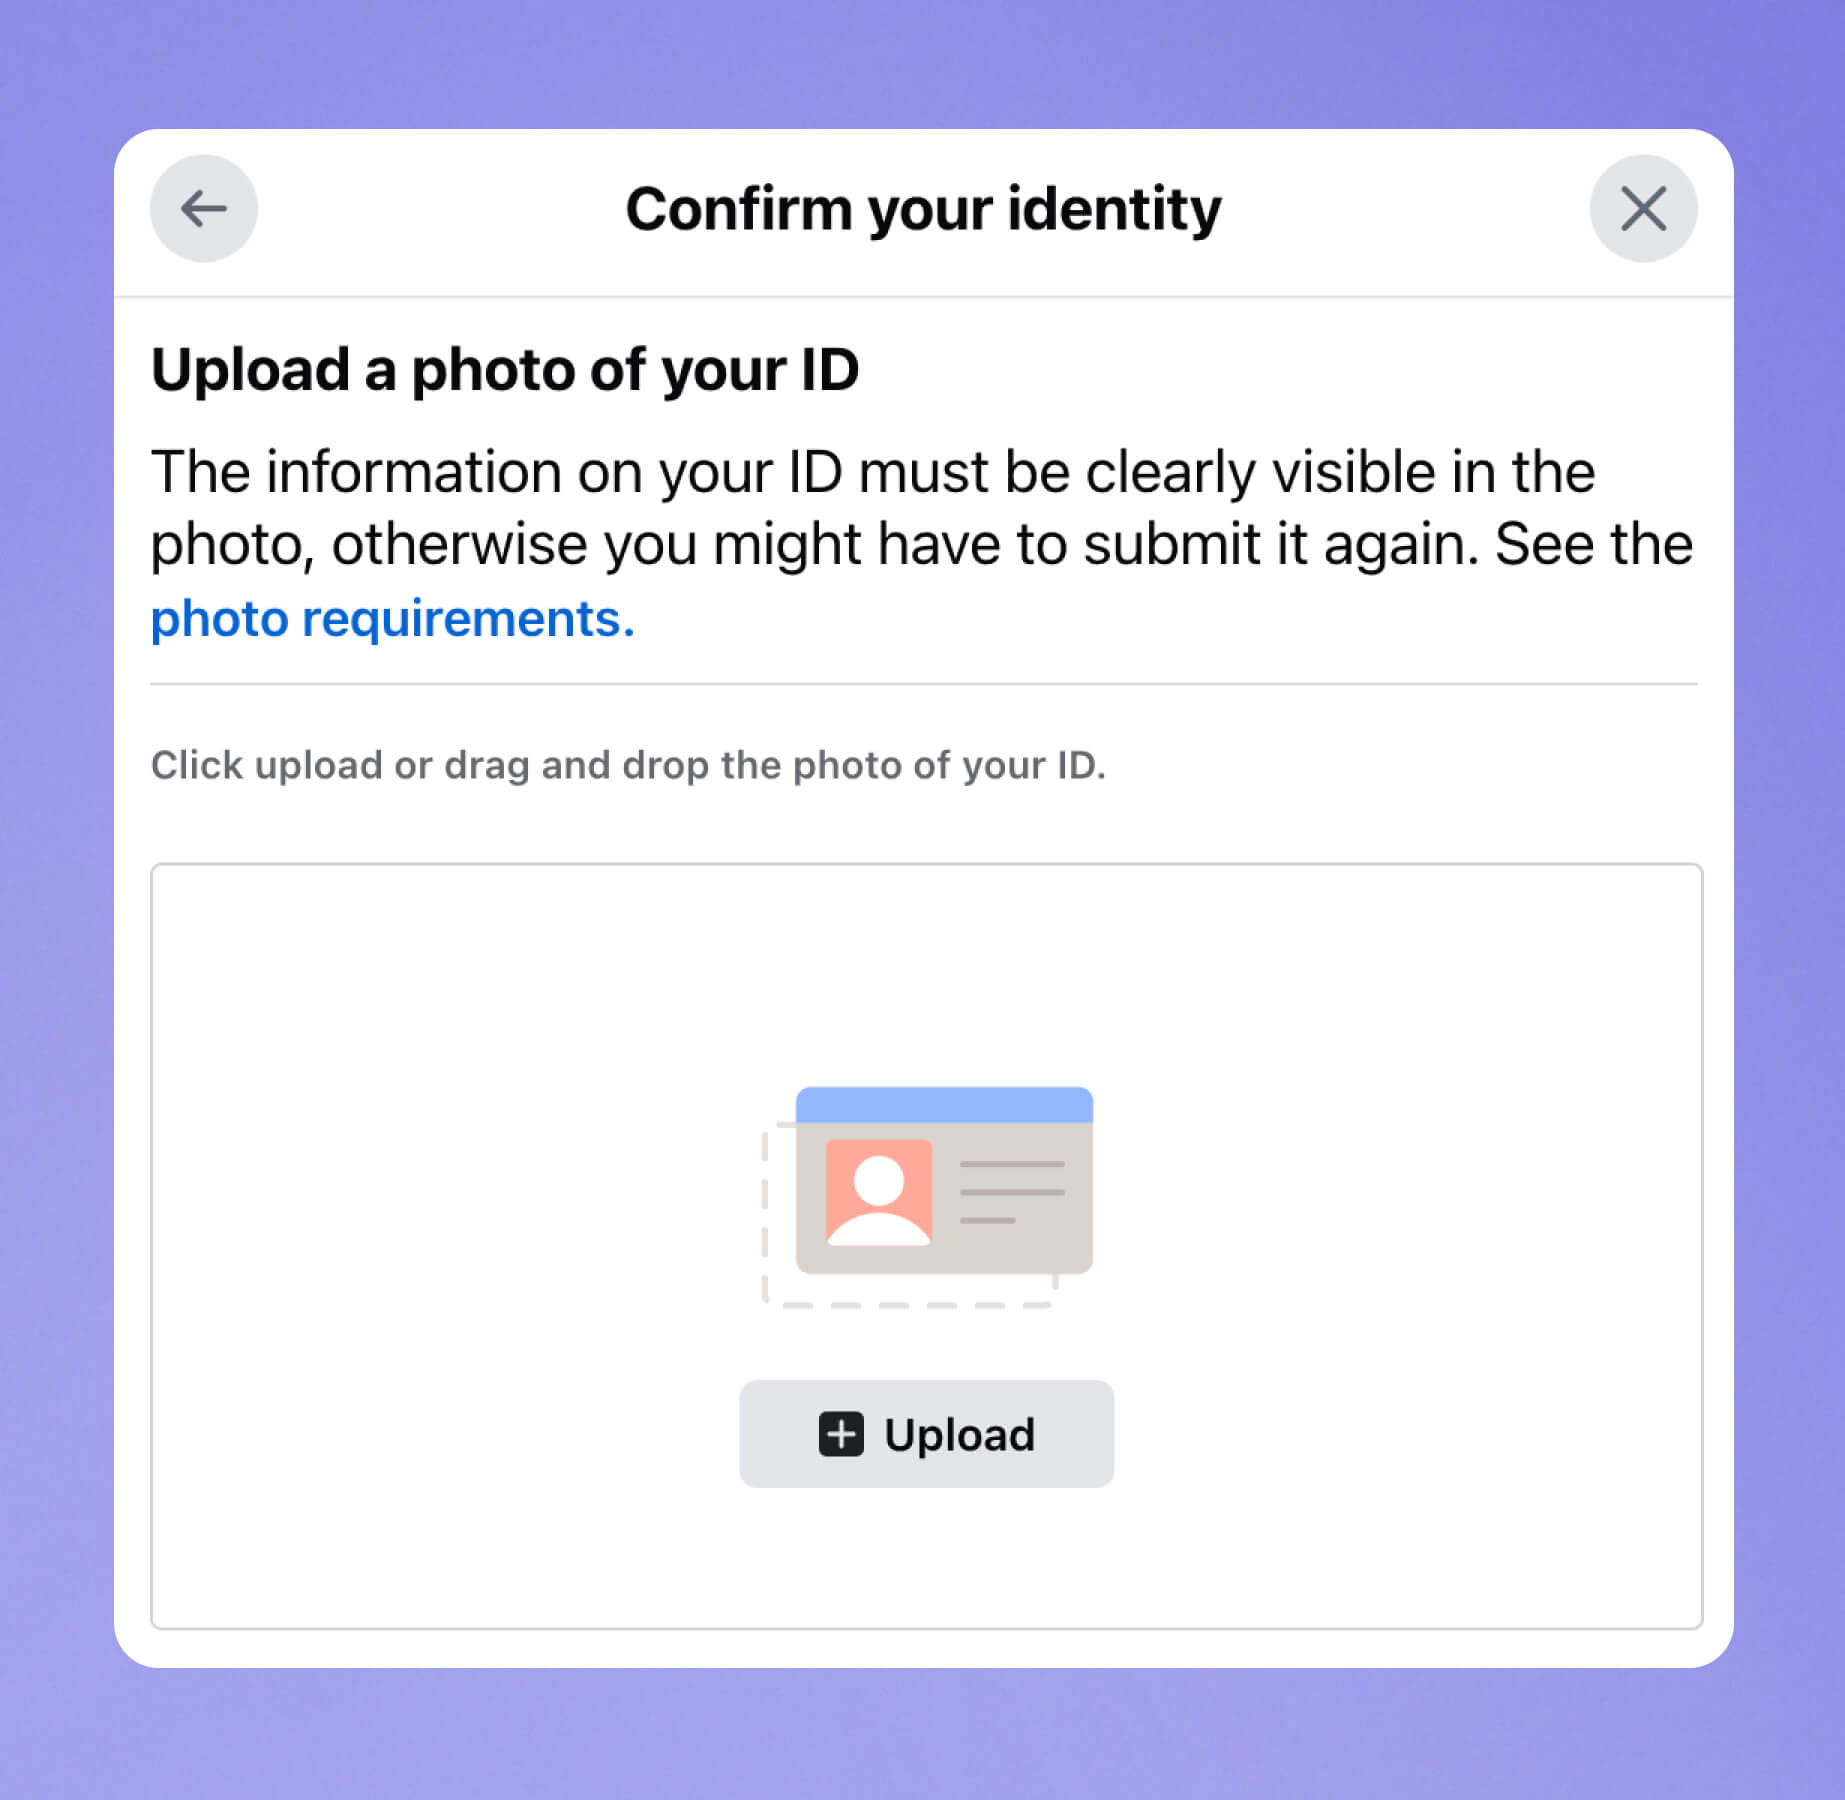
Upload a photo of the document.
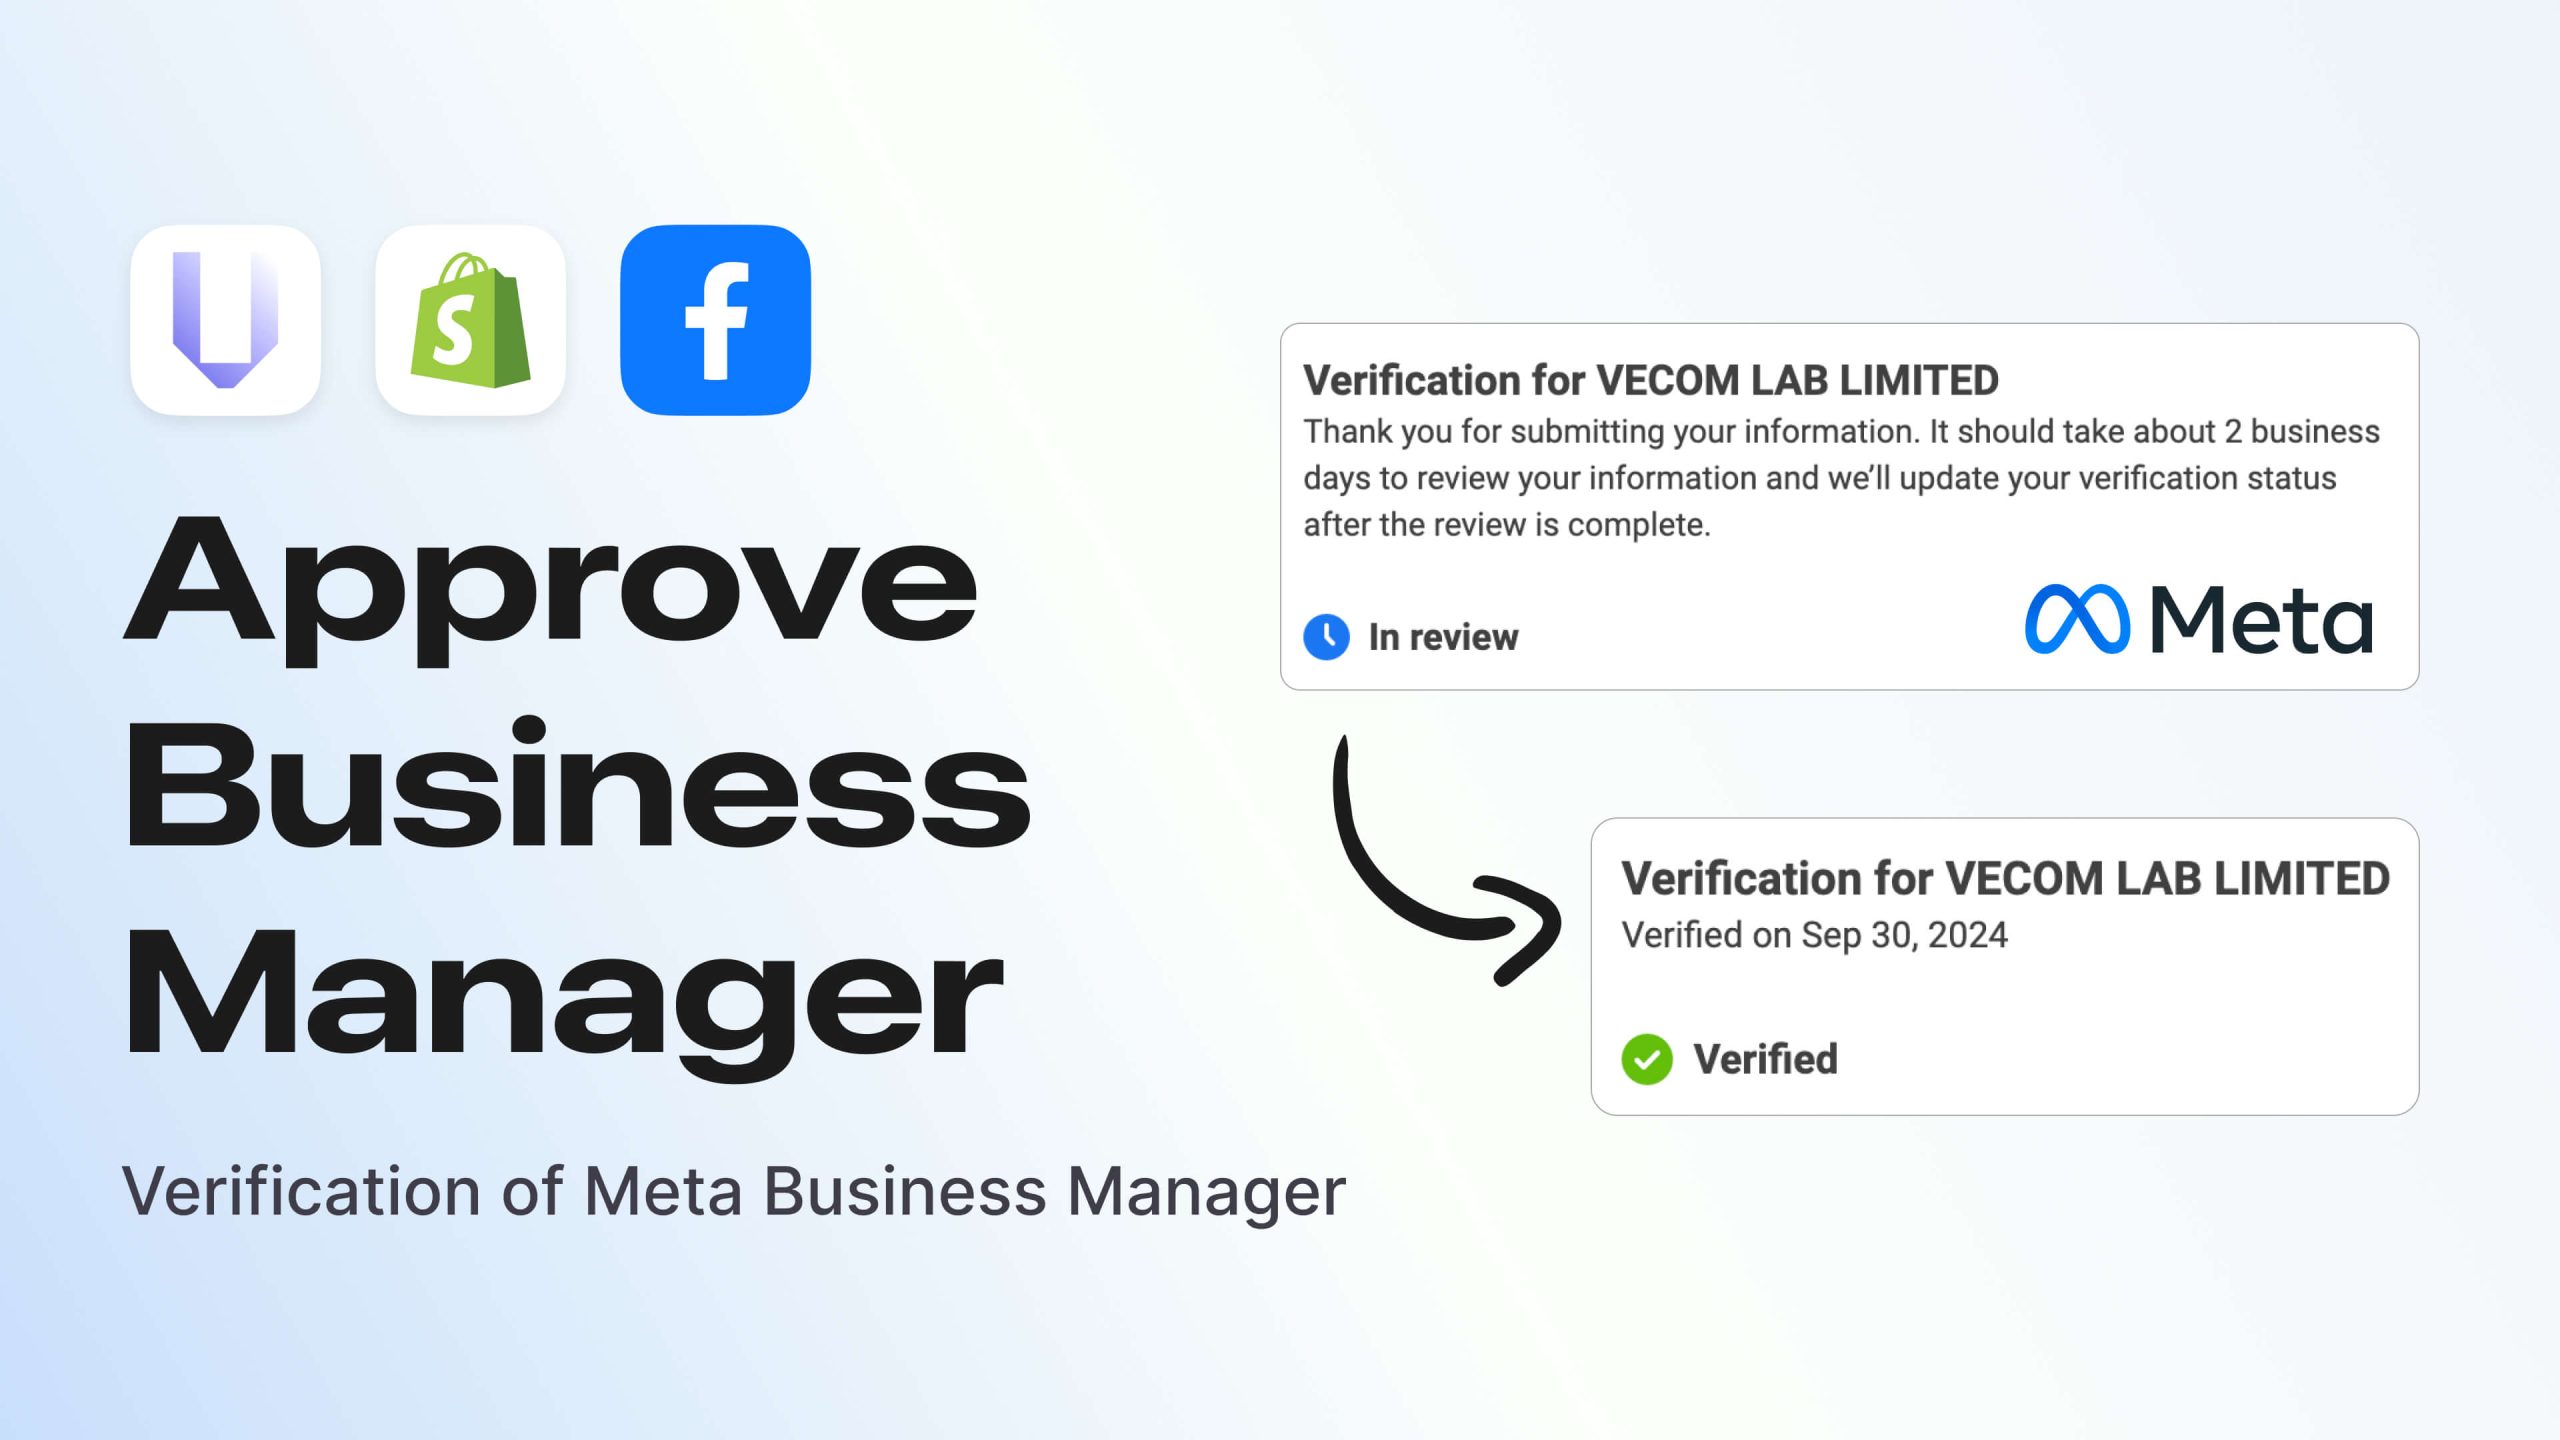
Send the document for verification, which will be completed within 48 hours. Typically, the process takes only a short time — I waited no more than an hour.
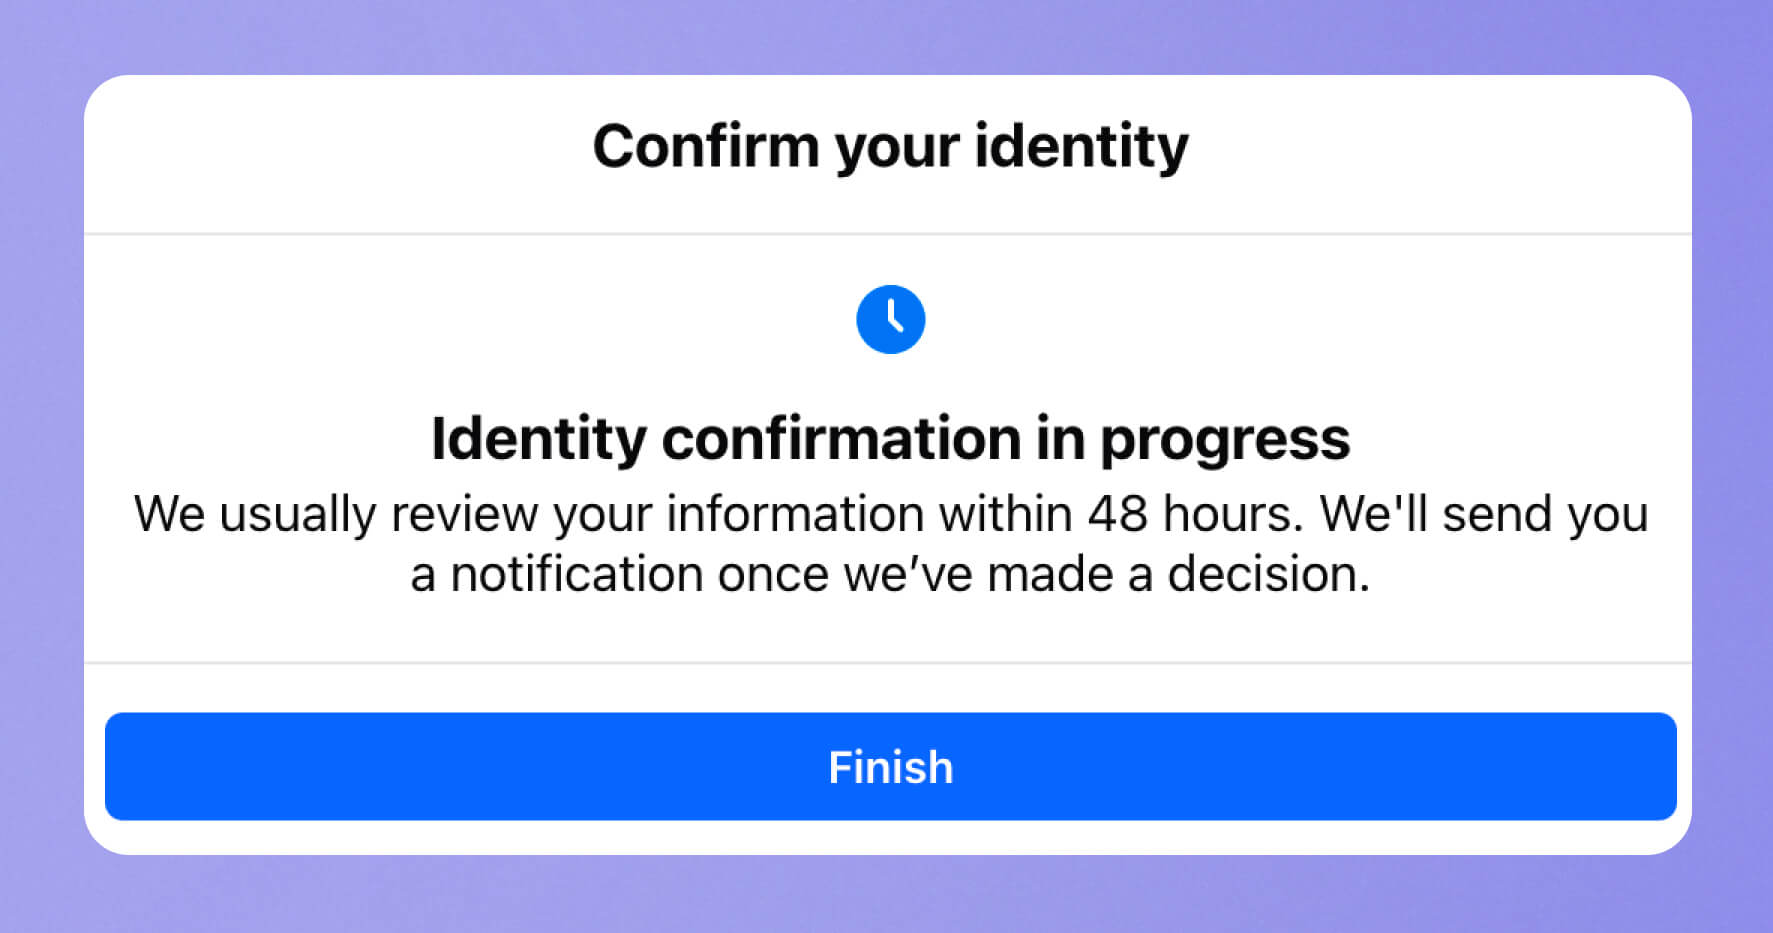
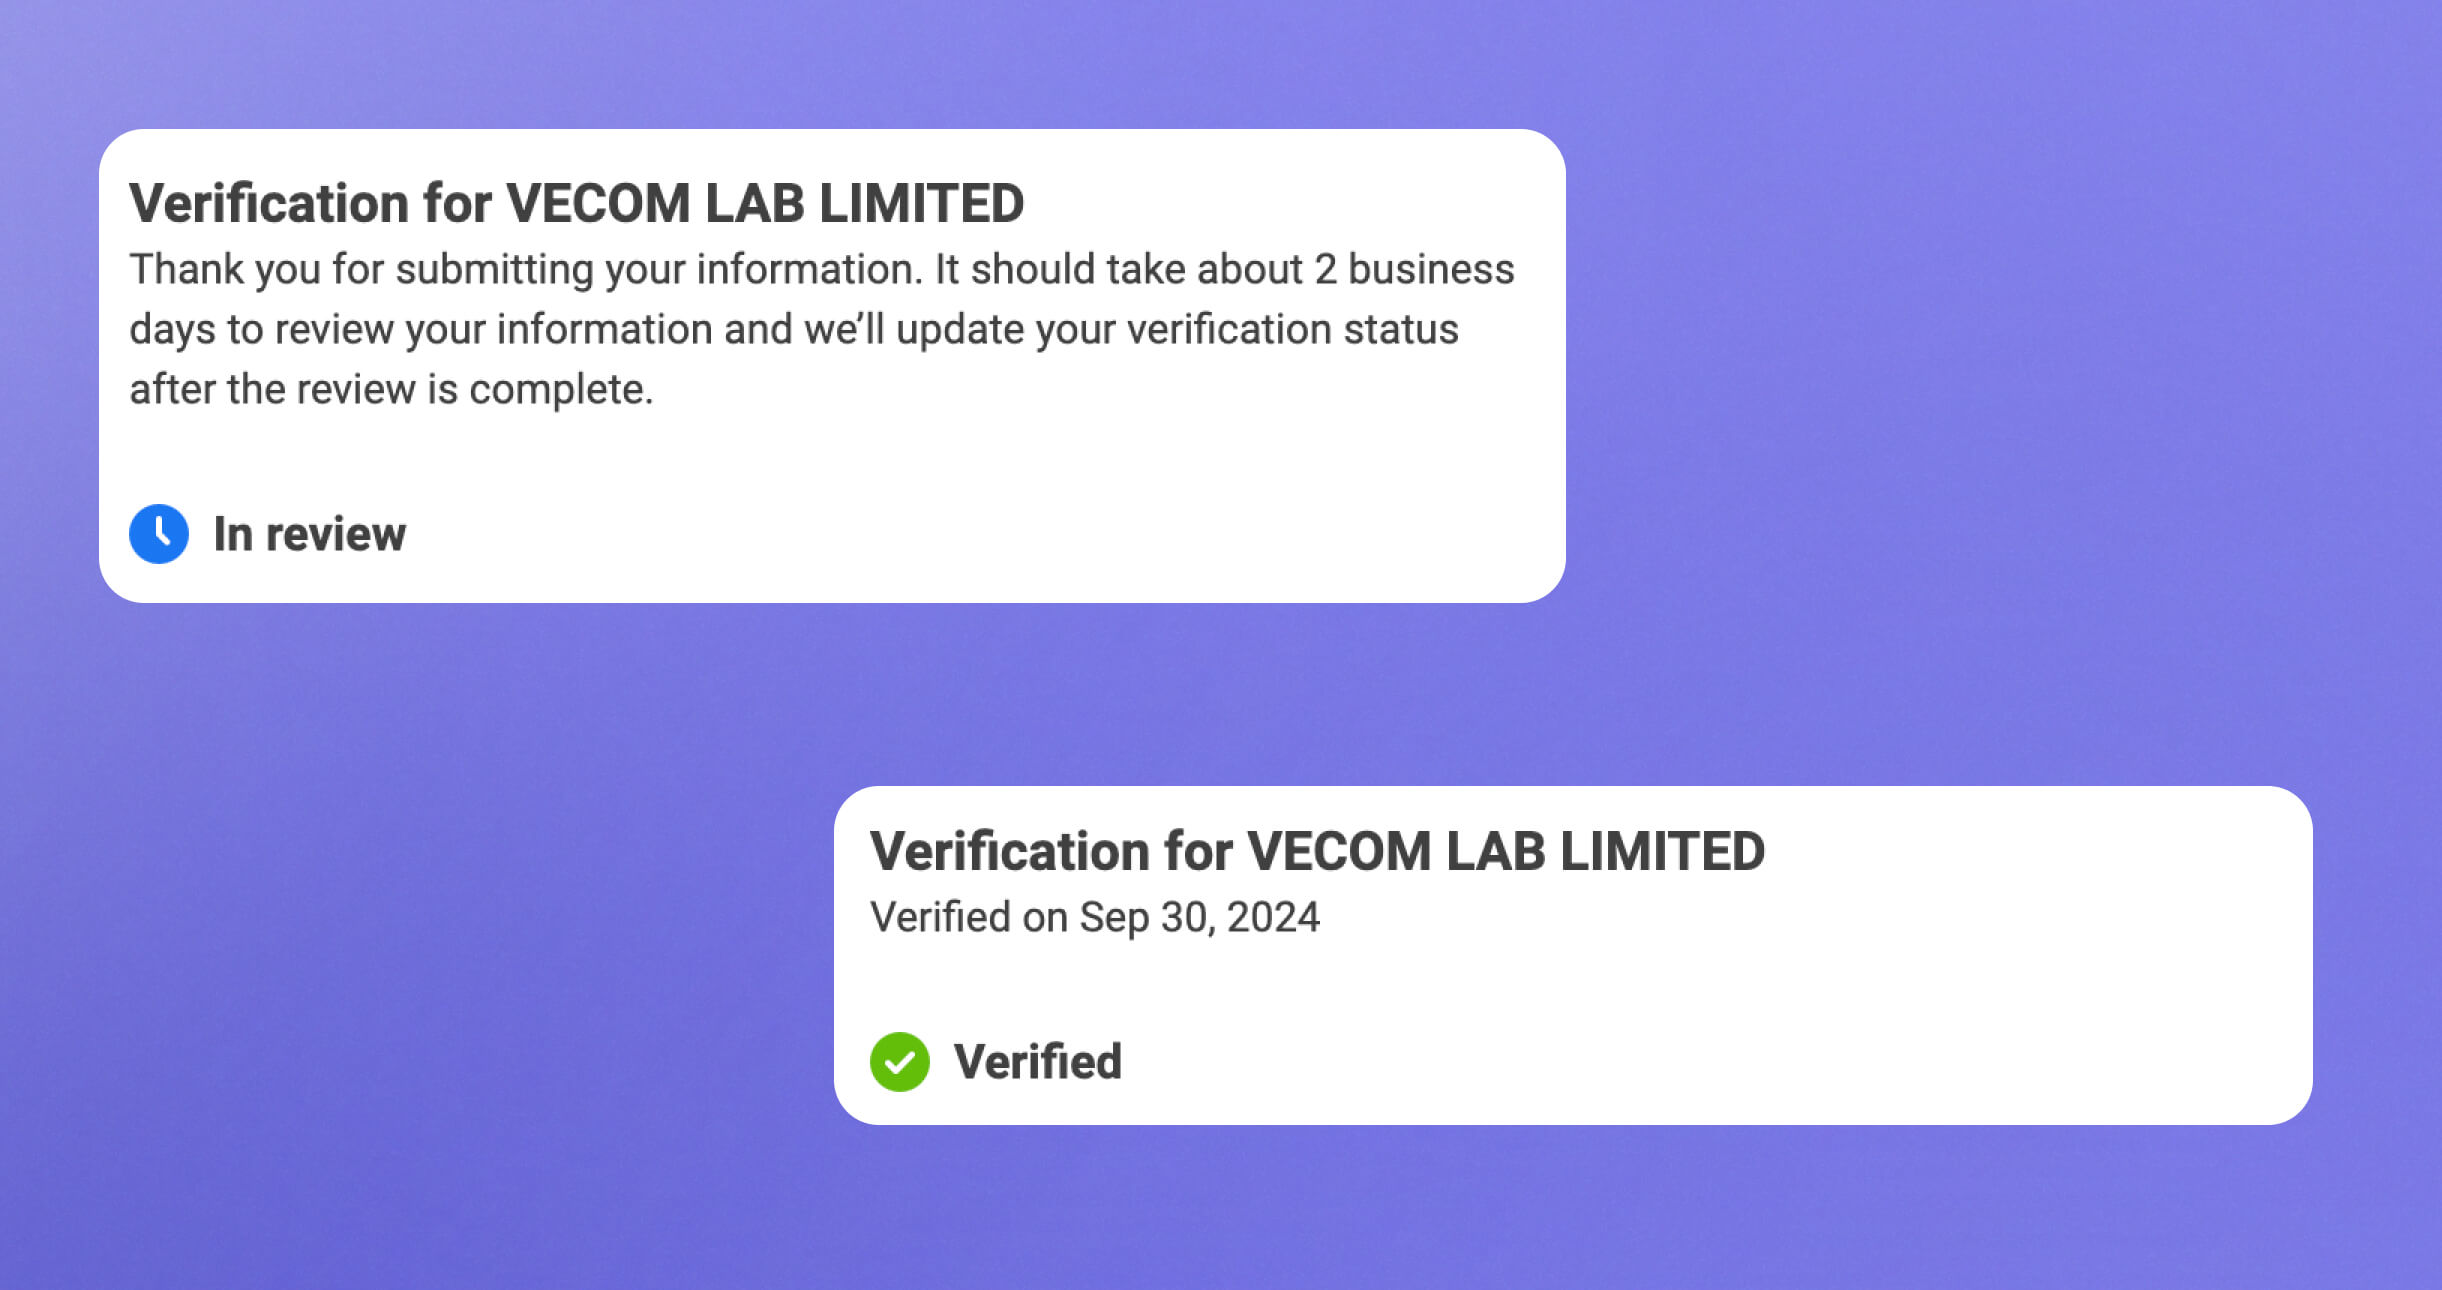
In the case of a positive decision, you will receive an email notification confirming the successful verification of your Business Manager. Verification details will also be available in the Security Center.
Ad account blocking
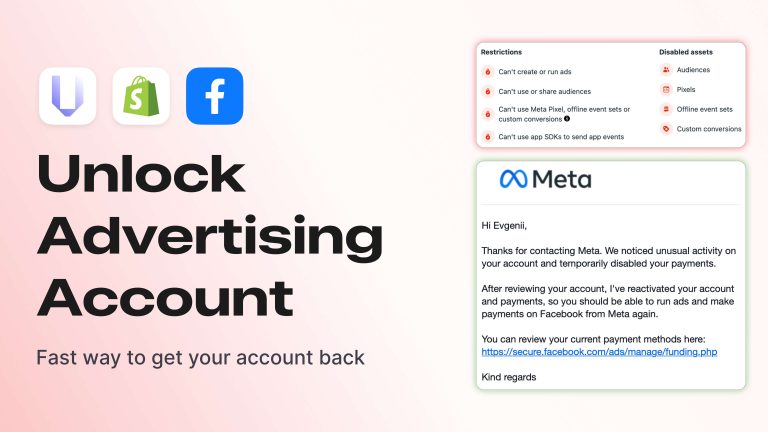
It is possible that your ad account will be blocked after running a test ad campaign.

I also experienced this situation while working on this guide, so I know how to help you and will be sure to share it in my next article!
Community in Telegram
Share experiences and receive advice from members
